Quick Start Guide
This guide walks you through the essential first steps after installing and activating FW Real Estate in WordPress.
Step 1 — Verify Your Website Key
After activation, open FW Real Estate → Dashboard in the WordPress admin sidebar. Check that your website key is entered and verified. A valid key enables addon access and keeps the plugin up to date. If the key is missing or invalid, enter it before proceeding.
Step 2 — Manage Your Addons
Go to FW Real Estate → Addons to see the available addons for your installation. Enable the addons you need for your site — for example, map display, contact forms, or agent management. Addons that are activated here will also add their configuration options to FW Real Estate → Settings → Addons.
Step 3 — Check the Auto-Created Pages
During activation, FW Real Estate automatically creates four WordPress pages and publishes them immediately:
- Properties — the main property listing and search page
- Property — the single property detail view
- My Account — the registered user dashboard
- Agents — the agent directory
Visit the Properties page on the frontend to confirm the listing view is displaying correctly. The page already contains the correct shortcode — no manual setup is needed. You can rename or move these pages without breaking property links; FW Real Estate stores the page IDs internally.
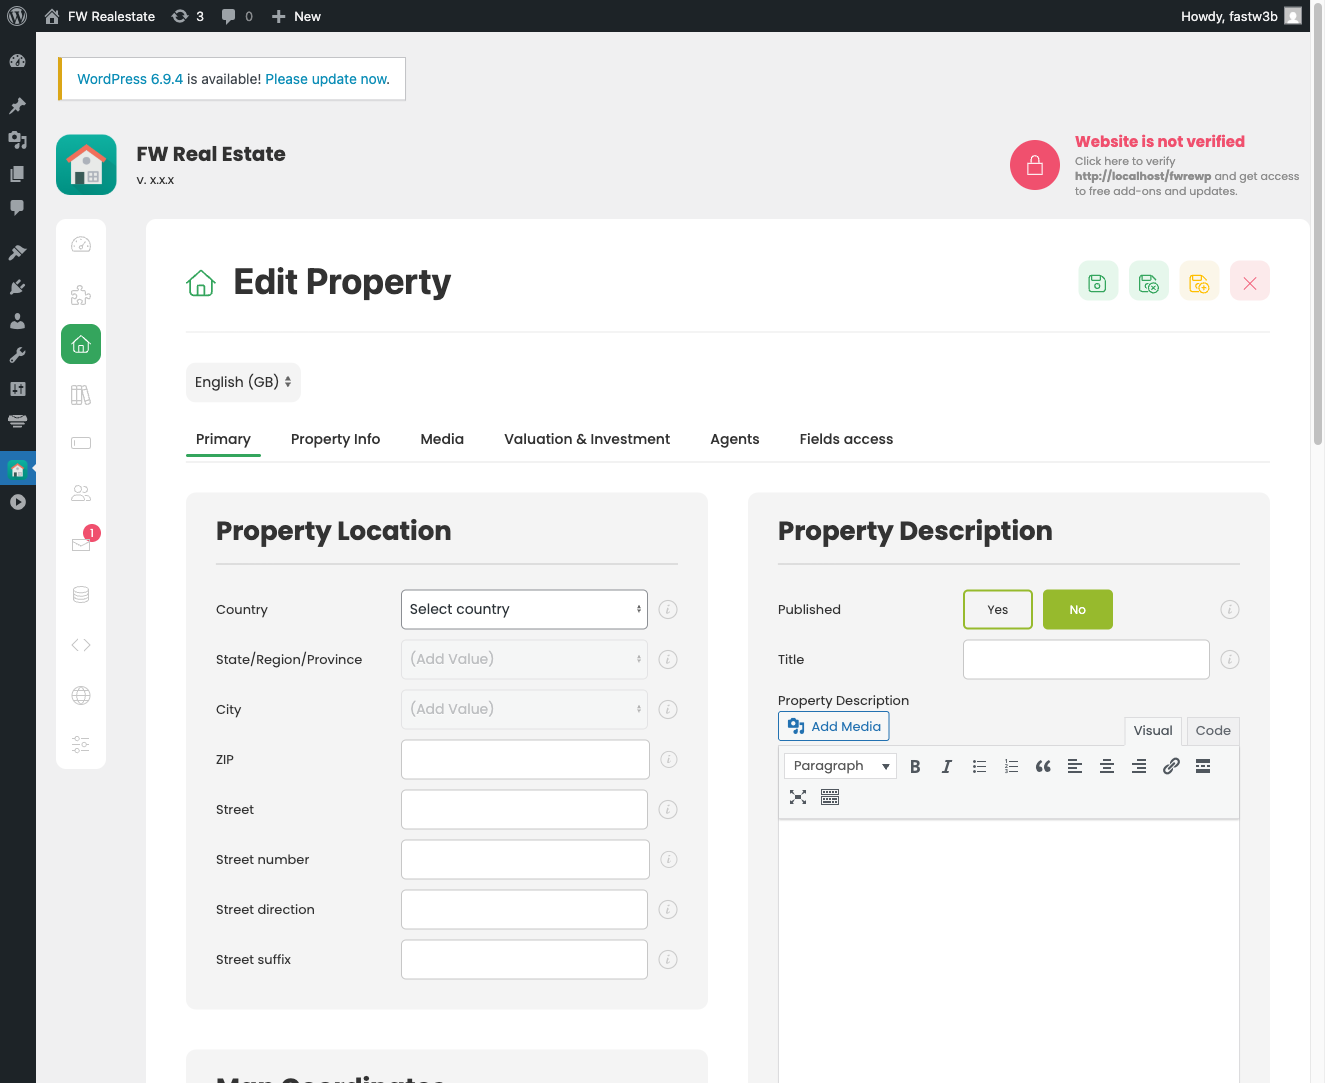
Step 4 — Add Your First Property
Go to FW Real Estate → Properties and click New (or Add New). Fill in the standard fields on the property form:
- Title — the property headline
- Status — for example, For Sale or For Rent
- Type — such as House, Apartment, or Commercial
- Price — the numeric price value
- Address fields — street, city, region, country, ZIP
- Description — full details using the WYSIWYG editor
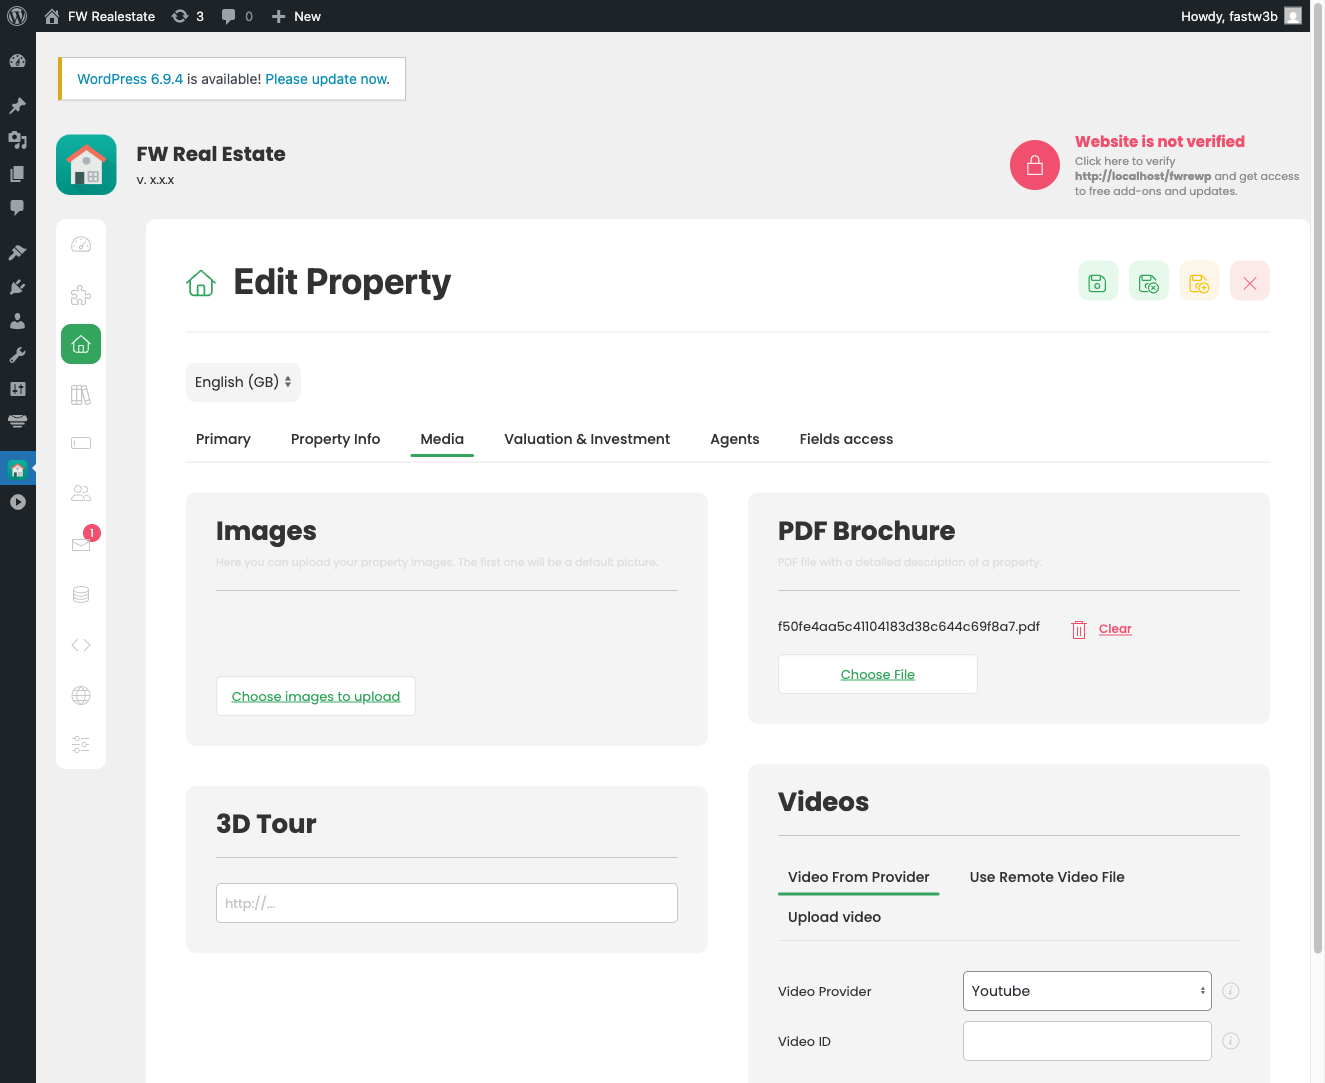
- Gallery — upload photos and drag to reorder
Publish the property when ready, then return to the Properties page on your site to see it appear in the listing.
Before adding multiple properties: set up your dictionaries first. Go to the relevant dictionary sections (Property Types, Categories, Statuses, Locations) and add the values your listings will use. Property form dropdowns are populated from these lists, so empty dictionaries mean empty dropdowns on the form.