Basic Configuration
Basic Configuration
Complete these steps after activating FW Real Estate to prepare your site for live property listings.
1. Set Your Default Country
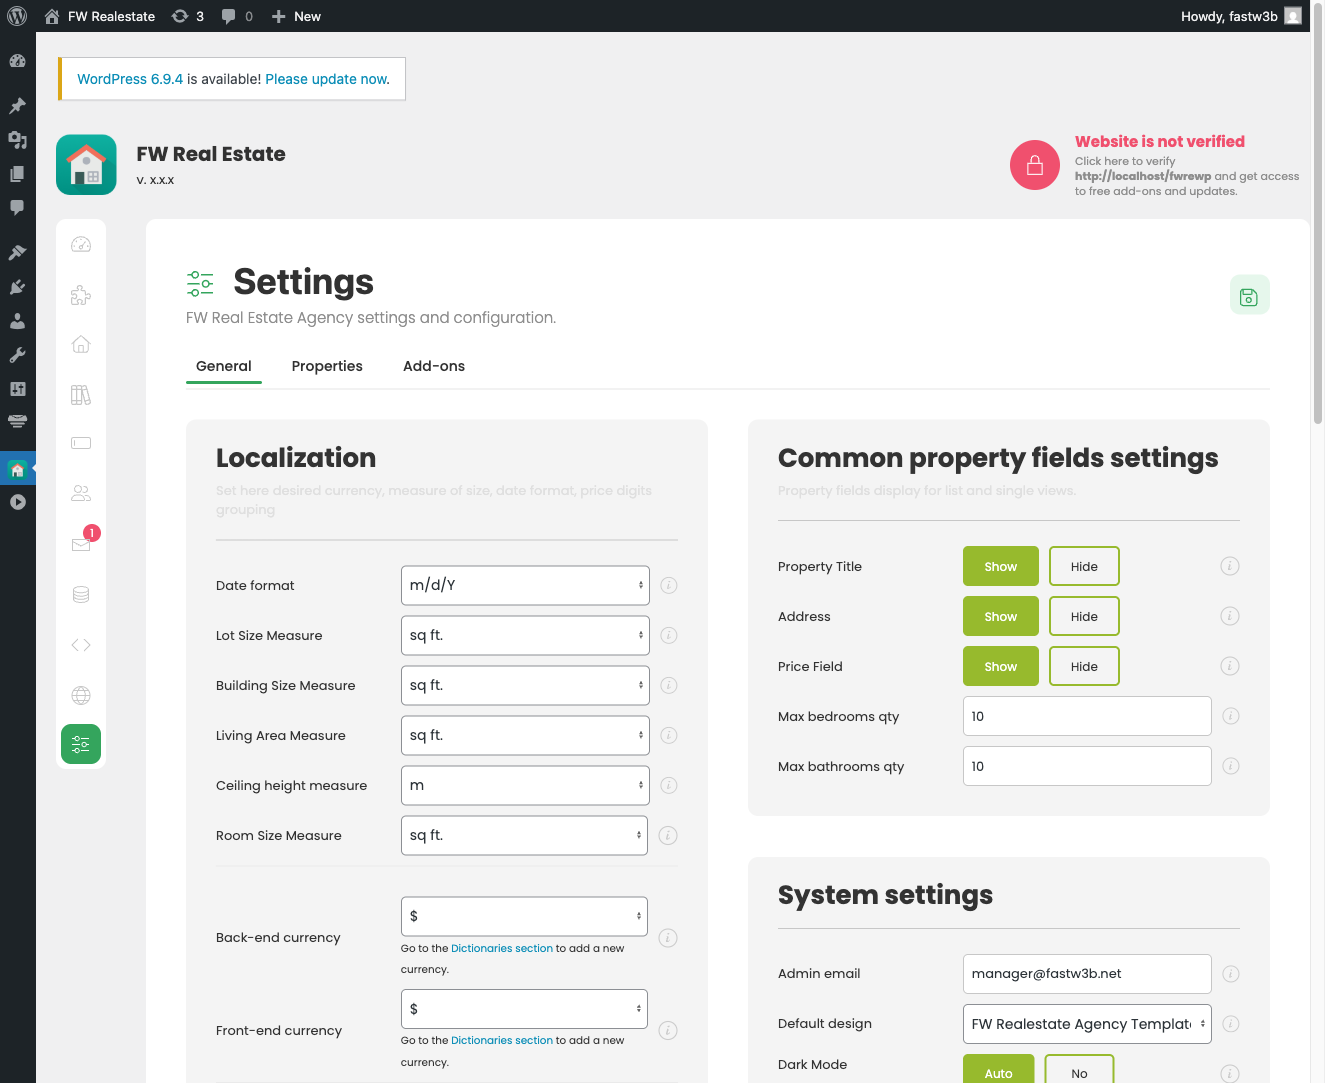
Go to FW Real Estate → Settings and open the General tab. Under the Localization section, configure your currency symbol, currency position, and date format to match your market. The Currency sign field sets the symbol displayed site-wide when the Multi Currency add-on is not active.
2. Fill In Your Dictionaries
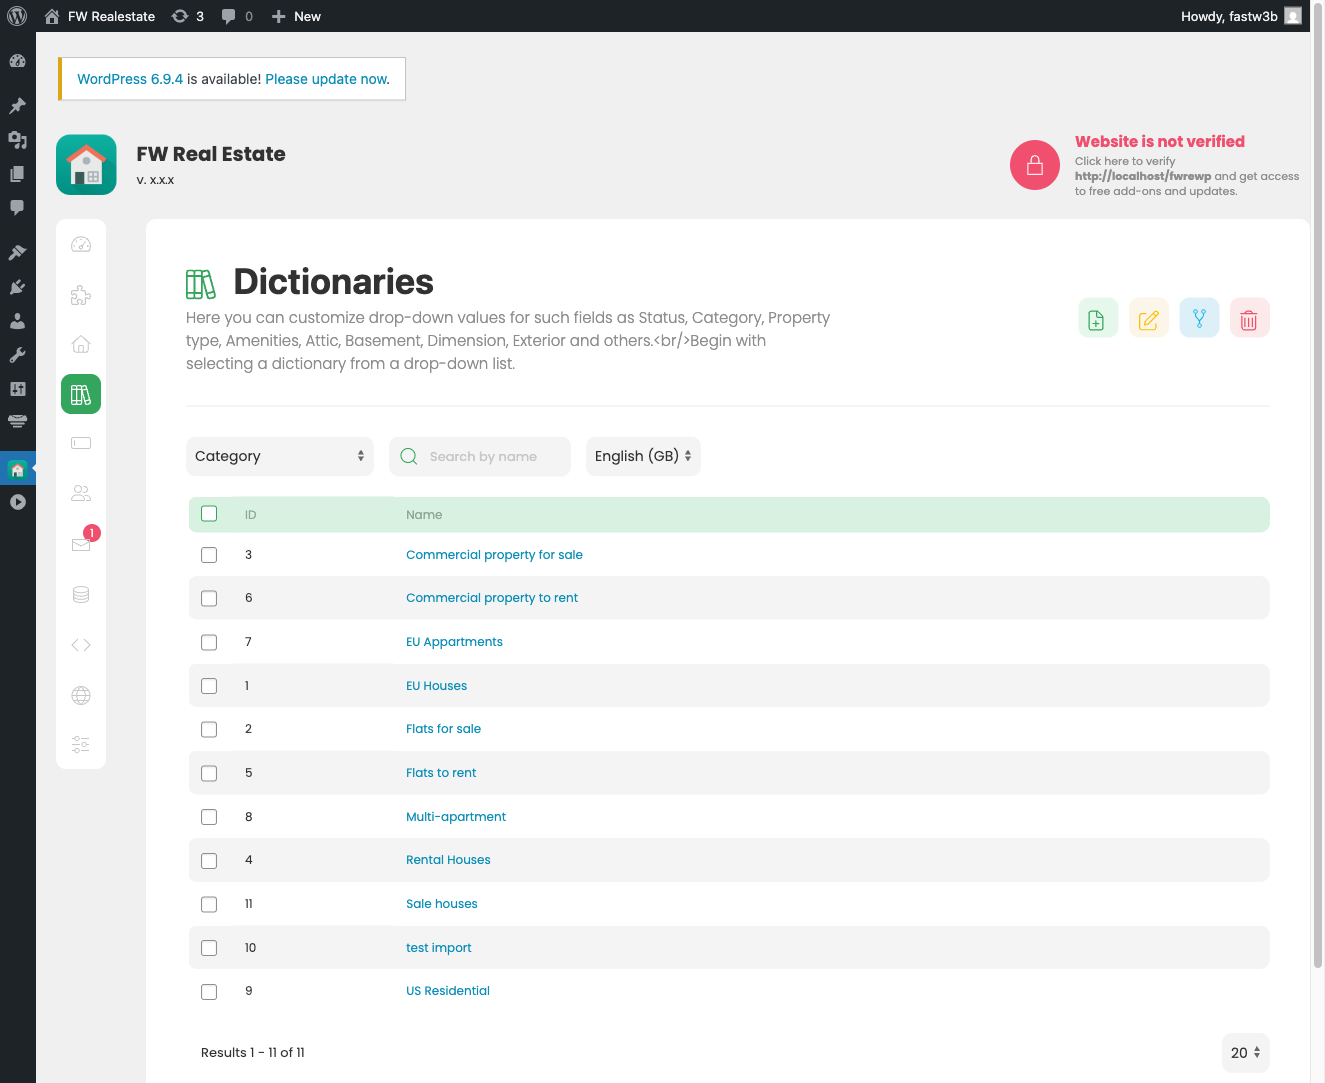
Dictionaries populate the dropdown fields on every property form. Go to FW Real Estate → Dictionaries and add values for at least the following before creating properties:
- Property Types — e.g. House, Apartment, Commercial
- Categories — your site's classification structure
- Statuses — e.g. For Sale, For Rent, Sold
Properties with missing type or status will not appear on the frontend even if published, so populate these dictionaries first.
3. Verify Your WordPress Pages
When FW Real Estate is first activated, it automatically creates four WordPress pages. Each page already contains the correct shortcode — no manual setup is needed.
- Properties — contains
[fwre_list] - Property — contains
[fwre_item] - My Account — contains
[fwre_usersection] - Agents — contains
[fwre_agents]
If any of these pages was deleted, recreate it manually and add the corresponding shortcode to its content. See the Shortcodes Reference for the full list of available parameters for each shortcode.
4. Enable Required Add-ons
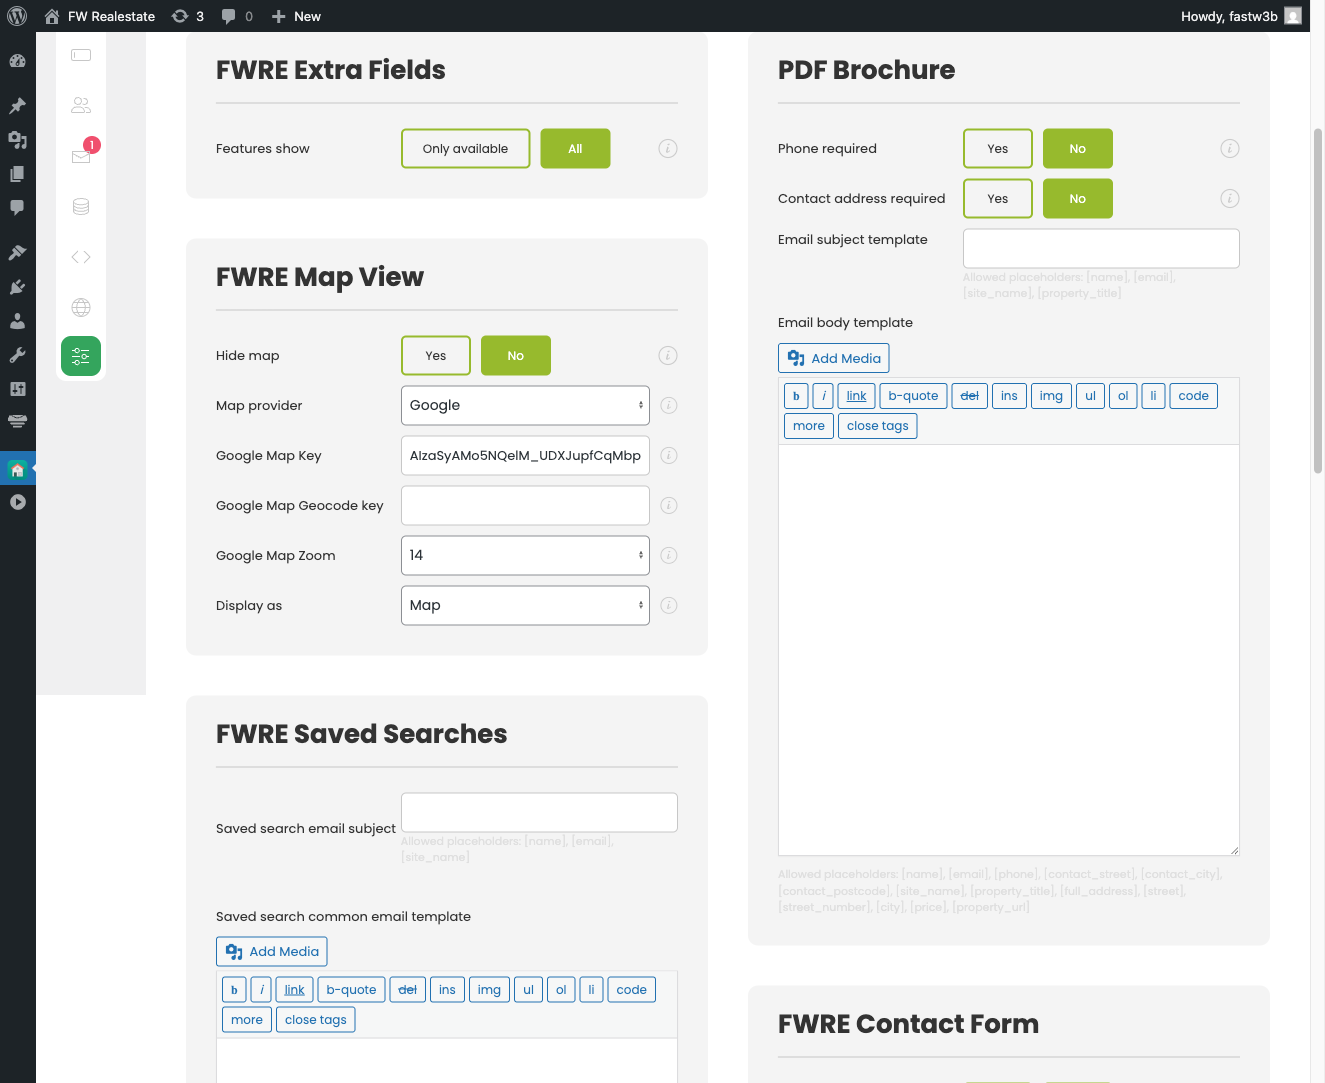
Go to FW Real Estate → Addons to see the add-ons available on your installation. Enable only the add-ons your site needs — for example, map display, contact forms, or user property submissions. Unnecessary add-ons can be left disabled.
Once an add-on is active, its configuration settings appear automatically in the Addons tab under FW Real Estate → Settings.
5. Configure Currency
FW Real Estate supports two currency setups:
- Single currency — enter your currency symbol in Settings → General → Localization and set the position (before or after the price). This is sufficient for most single-market sites.
- Multiple currencies — enable and configure the Multi Currency add-on. When this add-on is active, the currency symbol field in General settings is replaced by the add-on's full currency management interface, including exchange rates and per-currency formatting.
Once these five steps are complete, your site is ready to accept properties and display them to visitors.