Quick Start Guide
This guide gets FW Food Menu running on your WordPress site in five steps — from activation to a live menu page.
Step 1: Activate the Plugin
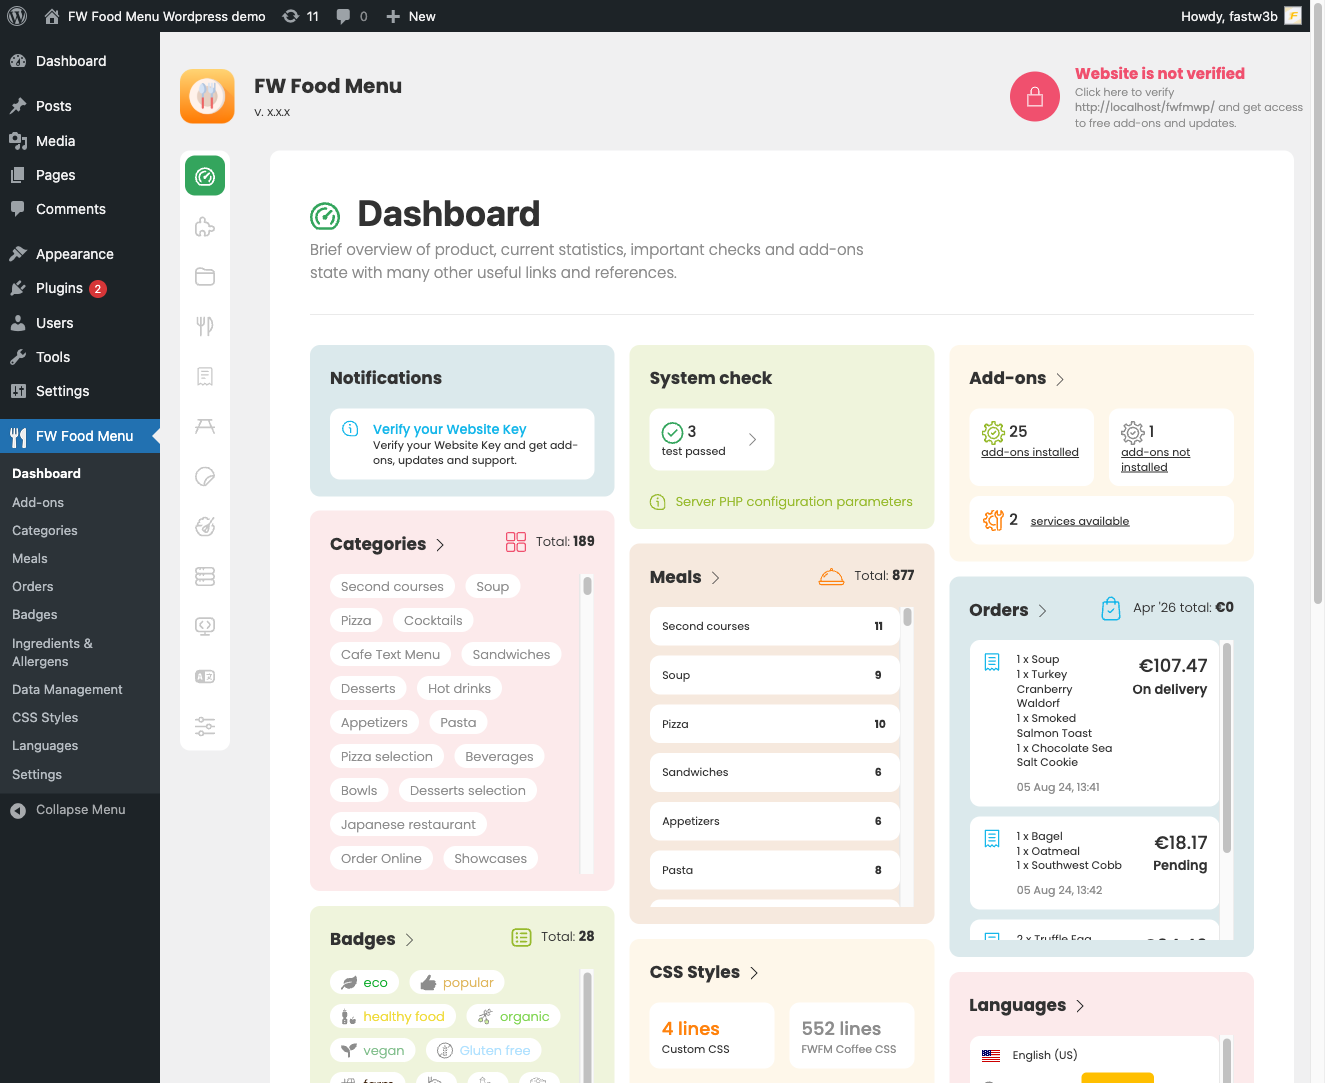
After installing the plugin package, go to Plugins → Installed Plugins in the WordPress admin sidebar and activate FW Food Menu. Once activated, a top-level FW Food Menu menu appears in the WordPress admin sidebar.
Step 2: Create a Category
Go to FW Food Menu → Categories and click Add New. Enter a category name — for example, Starters — and save. Categories group your meals on the frontend and can be nested into parent/child hierarchies as your menu grows.
Step 3: Add Meals
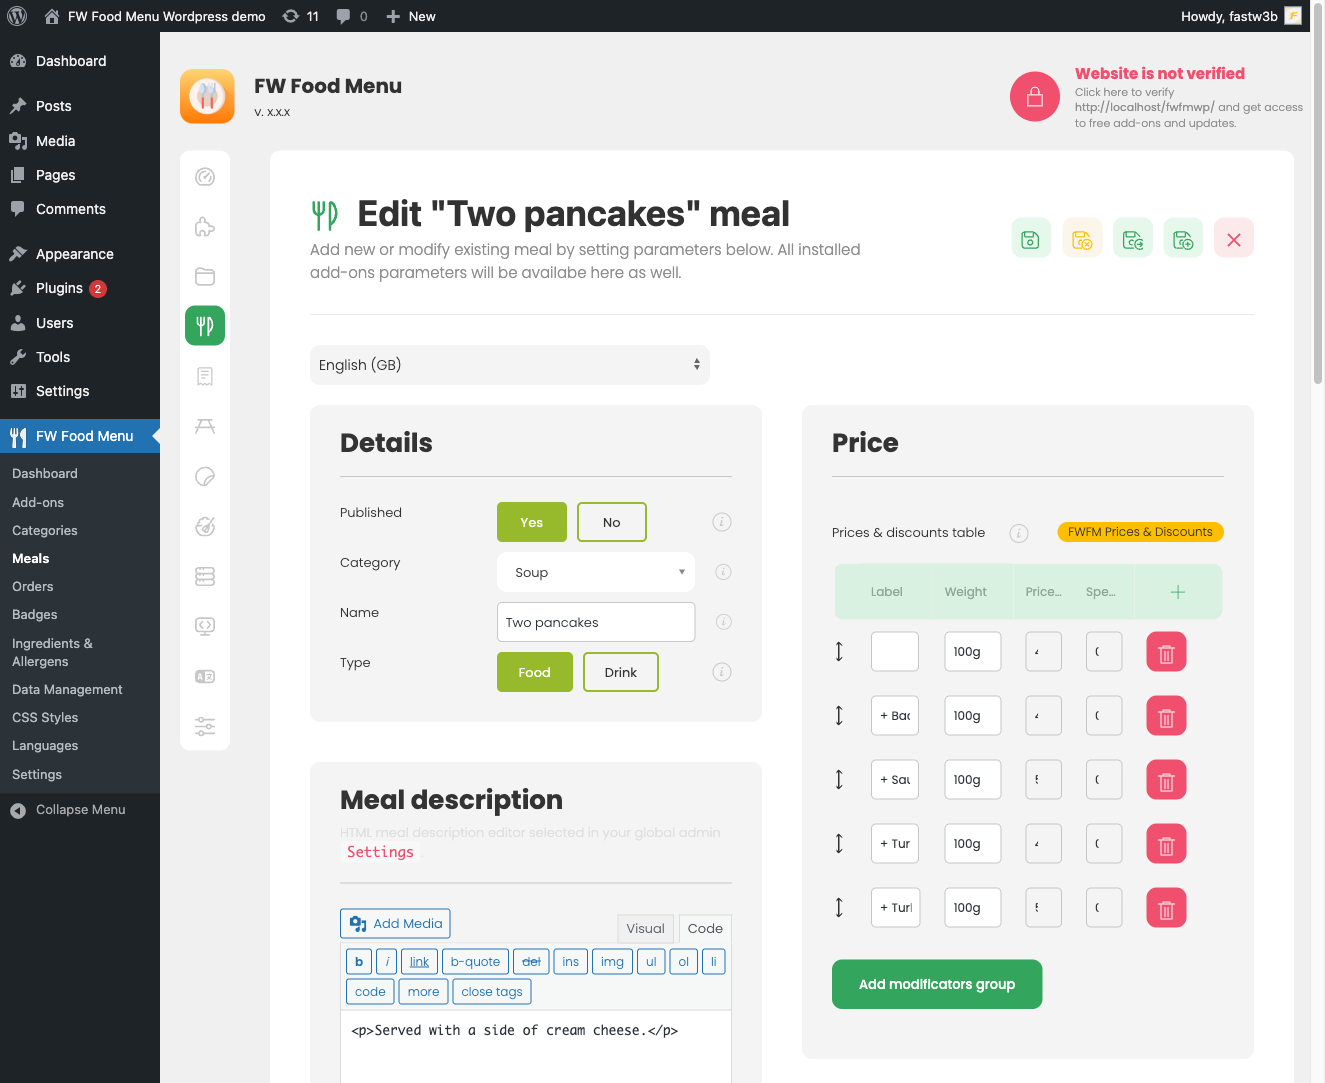
Go to FW Food Menu → Meals and click Add New. Fill in the key fields for each meal:
- Title — the meal or drink name
- Category — assign to the category you just created
- Price — base numeric price
- Short description — brief text shown on listing cards
- Status — set to Published
Save each meal. Repeat for as many items as you need. Additional fields such as images, nutritional info, allergens, and price modifiers become available when the relevant add-on plugins are installed.
Step 4: Add the Shortcode to a Page
Create a new WordPress page (or edit an existing one) and insert the following shortcode into the page content:
[fwfm_menu]
This shortcode displays all published categories and their meals using your active design template. If you want to show only specific categories, you can pass parameters — for example:
[fwfm_menu category_id="1,2"]— display categories by ID[fwfm_menu categories="Starters|Mains"]— display categories by name
The shortcode works in both the Classic editor and the Gutenberg block editor. In Gutenberg, you can also use the dedicated Menu Block found under the FW Food Menu category in the block inserter — this provides visual controls for category selection and layout without writing shortcode manually.
Step 5: Publish and View
Publish the page and open it in your browser. Your food menu will appear with categories and meals displayed according to the active design template. If the page is blank or categories are missing, confirm that:
- The plugin is active under Plugins → Installed Plugins
- At least one category and one meal are published
- Meals are correctly assigned to a published category
Next Steps
Once your basic menu is live, explore these areas to extend functionality:
- FW Food Menu → Settings — configure currency display, design theme, restaurant location, and more
- FW Food Menu → Addons — enable installed plugins such as Cart, Images, or Allergens to add features to your menu
- Use
add_paramsin the shortcode to override individual settings per page without changing global configuration