Creating Your First Menu
This guide walks through the minimum steps to get a working food menu on your Joomla site: create a category, add meals to it, then display everything on a page using a Joomla menu item.
Step 1 — Create a Category
Categories group related meals together on the frontend. Go to FW Food Menu → Categories in the Joomla administrator and click New.
- Title — The category name visitors will see (e.g. "Starters").
- Alias — Auto-generated from the title; leave it unless you need a custom URL slug.
- Parent — Leave empty for a top-level category, or select an existing category to nest this one beneath it.
- Description — Optional introductory text shown above the category's items.
- Status — Set to Published so the category appears on the frontend.
Save the category before moving on.
Step 2 — Add Menu Items
Go to FW Food Menu → Menu Items and click New. Fill in the standard fields for each meal or drink you want to list.
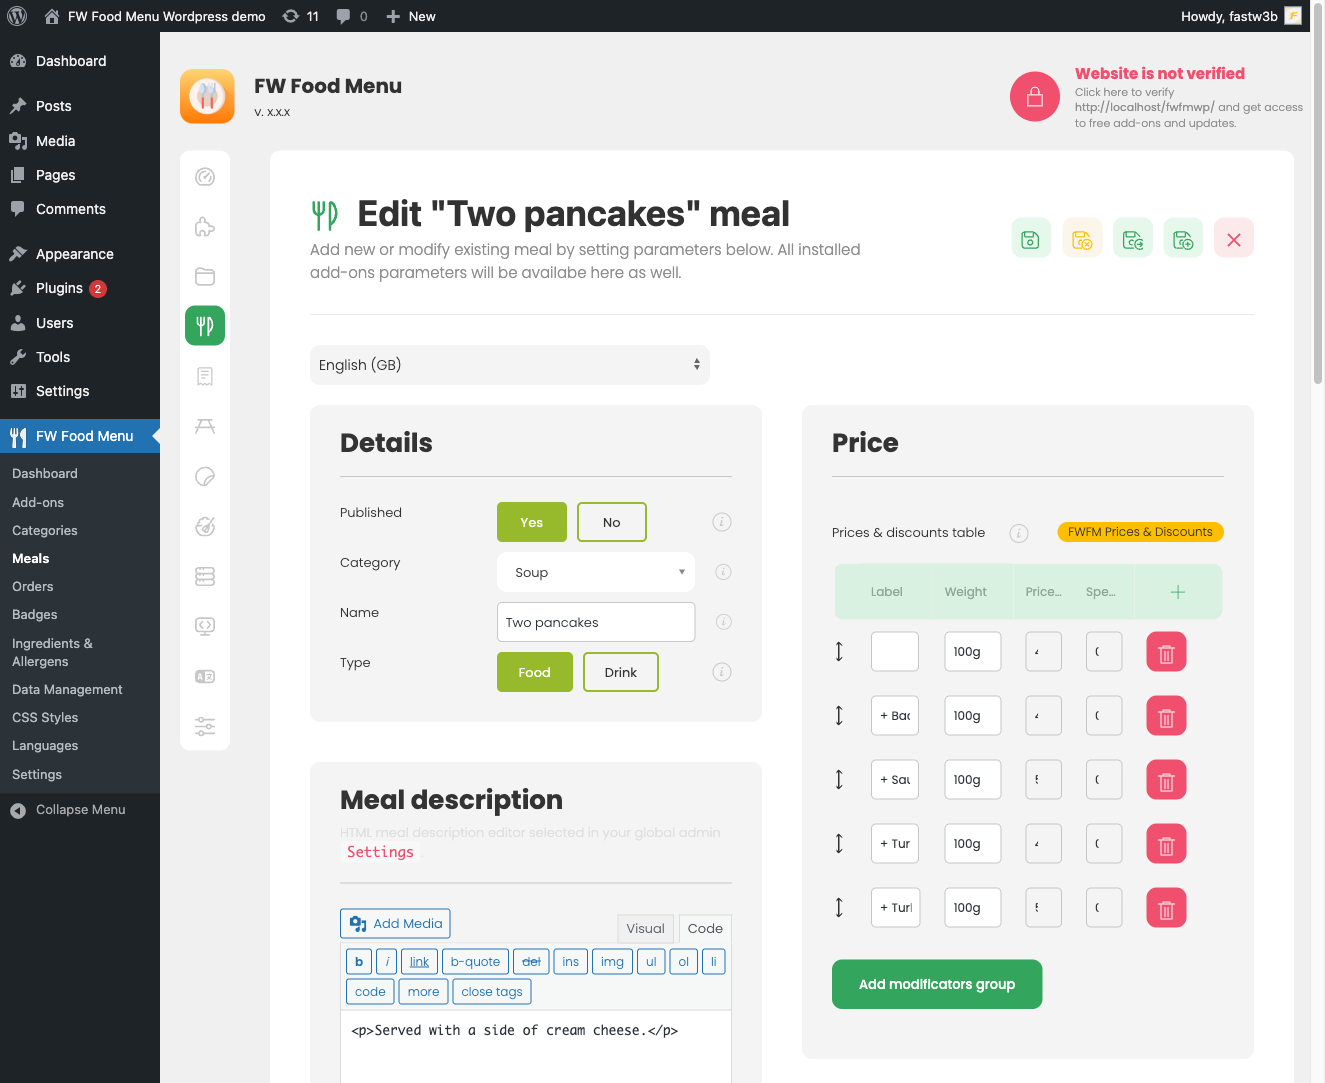
- Title — The meal or drink name.
- Category — Select the category you created in Step 1.
- Price — Enter a numeric value. The currency symbol is controlled under Settings → General → Display currency.
- Short description — A brief line of text shown on listing cards.
- Description — A full HTML description displayed on the item's detail page.
- Status — Set to Published.
Repeat for each item. Once you have multiple items in a category, you can drag rows to reorder them on this screen.
Additional fields such as images, nutritional information, allergens, and price options become available when the corresponding plugins are installed and enabled.
Step 3 — Display the Menu on a Page
FW Food Menu uses standard Joomla menu items to display its frontend views. Go to Menus → [your menu] → Add New Menu Item and click Select next to the Menu Item Type field.

Choose Food Menu → Food Menu from the list. This displays the full menu with all published categories and their items. Give the menu item a title, assign it to the appropriate menu position, set its status to Published, and save.
Checking Your Settings
Before previewing the frontend, confirm a few global options under FW Food Menu → Settings → General:
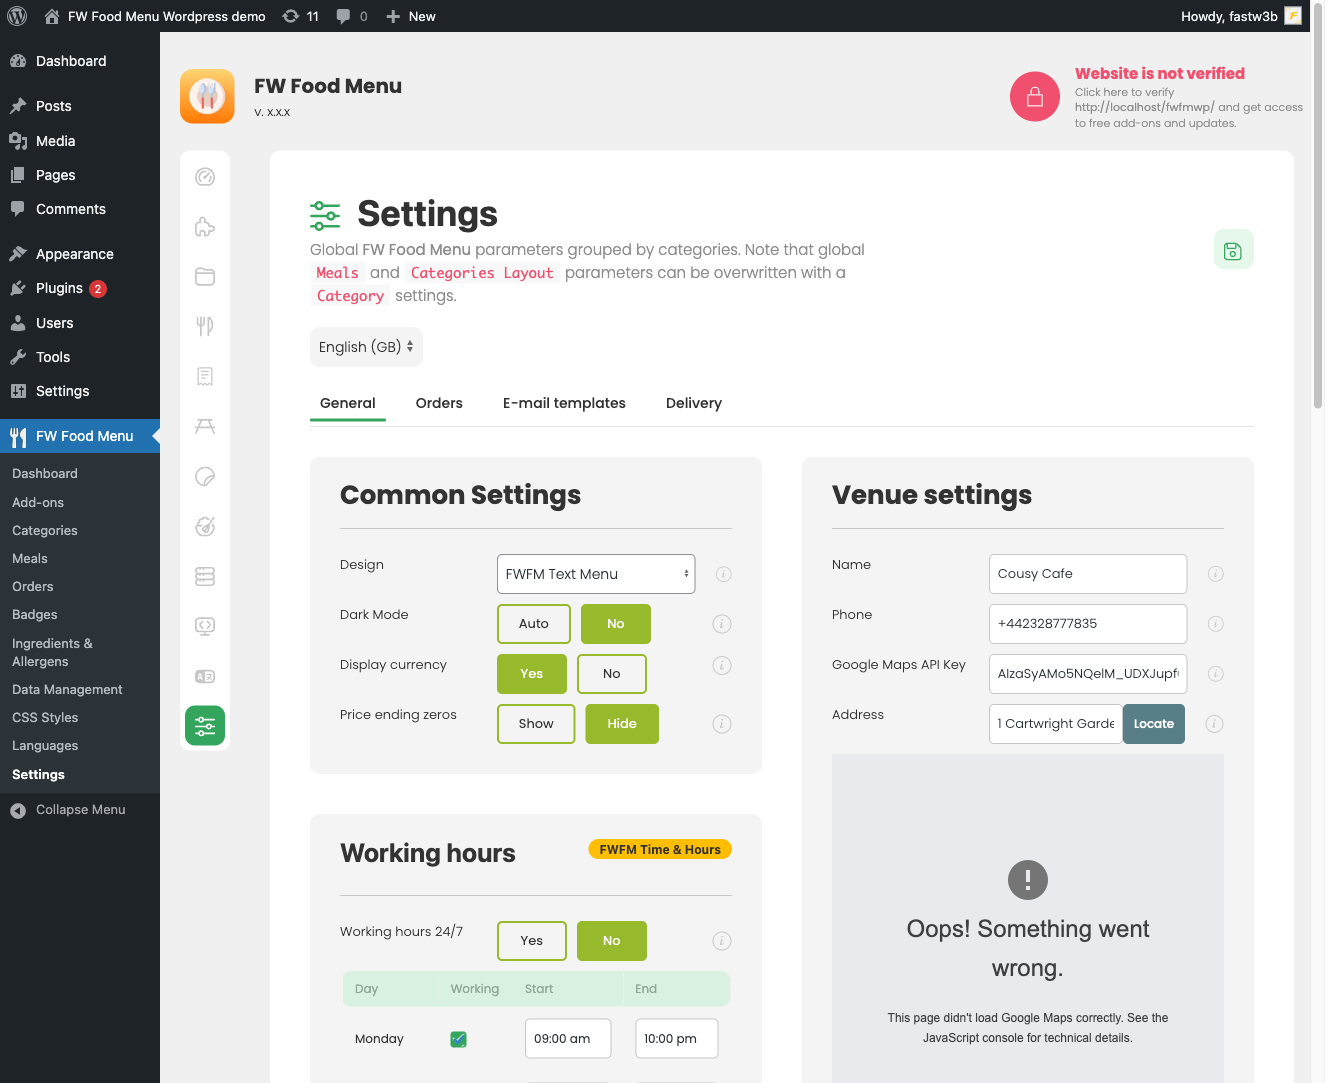
- Theme — Select an installed design plugin. No theme selected means no styled output.
- Display currency — Set to Show to display the currency symbol next to prices.
- Hide trailing zeros — Enable if you prefer prices like 12 instead of 12.00.
Navigate to the page linked to your new menu item to confirm categories and meals appear correctly. If nothing shows, verify that both the category and its items are published, and that a theme is selected in Settings.