FW Real Estate – Documentation
Quick Start Guide
Quick Start Guide
After installing FW Real Estate, follow these steps to get your property listing site running.
Step 1 — Verify Your Website
The first time you open the FW Real Estate admin panel, the header displays a lock icon with the message Website is not verified. Click it to open the Website Key verification modal.
The modal contains a Website Key input field and two buttons: Get Website Key and Verify Website Key.
- Click Get Website Key. This opens fastw3b.com. If you are not logged in, log in first.
- The site automatically registers your website and displays your website key along with a Click to copy button. Copy the key.
- Return to the Joomla admin, paste the key into the Website Key field, and click Verify Website Key.
The system checks that your site URL and key match. On success, a Successful website verification! modal confirms that your website is verified and that free add-on installation and updates are now available. Ticket support requires a subscription.
After verification, the admin header shows your account avatar, verified domain, subscription status (No Subscription or Active), support status (Inactive or Active), and Unverify / Account buttons.
Step 2 — Install and Manage Add-ons
Open the Addons section inside FW Real Estate — it is the puzzle-piece icon in the component sidebar. This is the recommended way to manage add-ons, as it is more convenient than using the Joomla Plugin Manager.
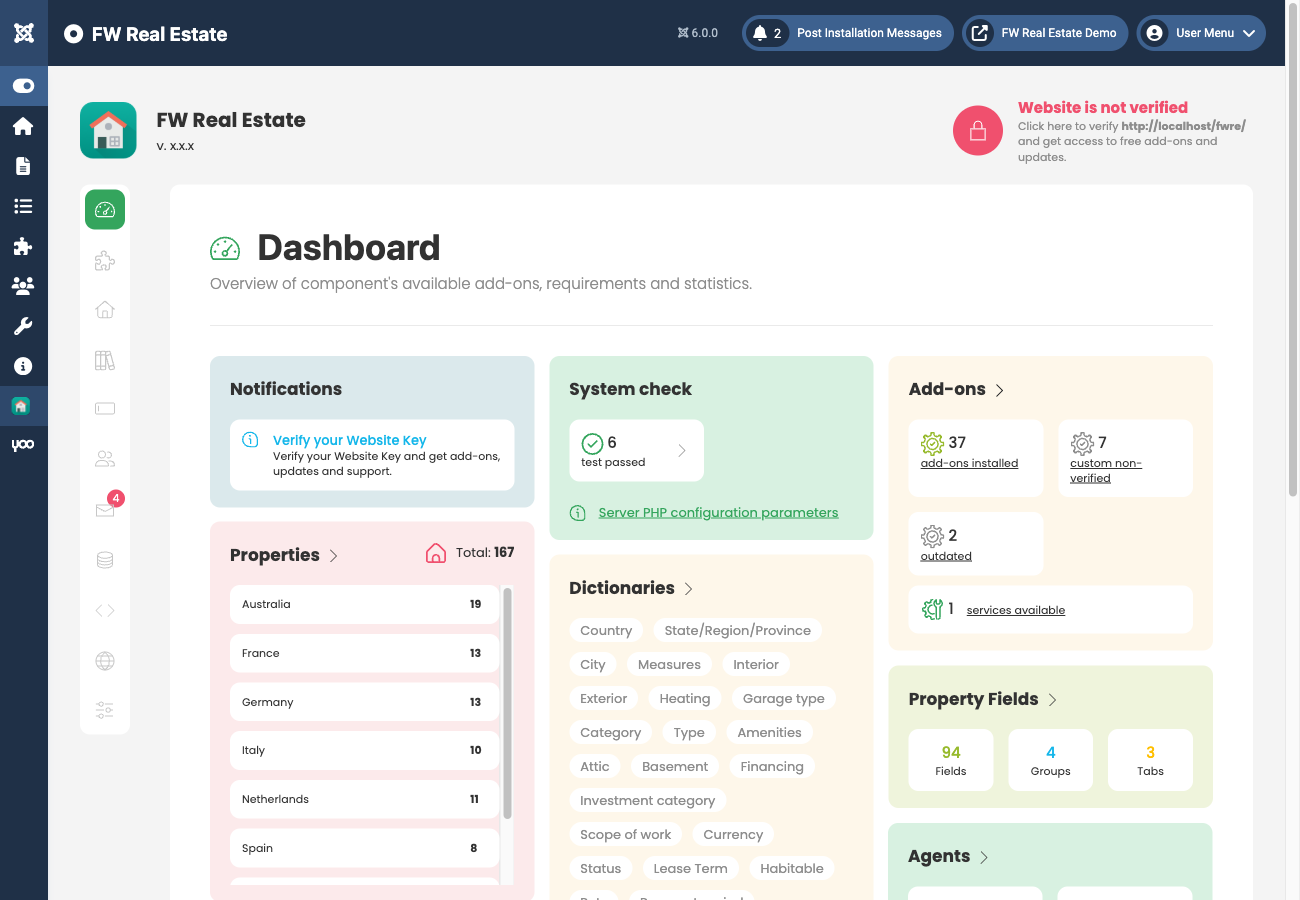
The Addons section lists all available add-ons — both plugins and modules are referred to as add-ons here. A counter shows how many are installed out of the total available (for example, 7 of 37). You can filter the list by name or status.
For each add-on you can:
- Install it if it has not been installed yet
- Enable or Disable it
- Remove a disabled add-on
- Update it when a newer version is available — an Update button appears automatically
Install and enable the add-ons your site needs before proceeding.
Step 3 — Create a Properties Listing Menu Item
To display properties on the frontend, create a Joomla menu item and set its type to FW Real Estate → Properties Listing. This creates the main property browsing page for your visitors.

If you are unfamiliar with creating menu items in Joomla, see the Joomla documentation on adding a new menu item.
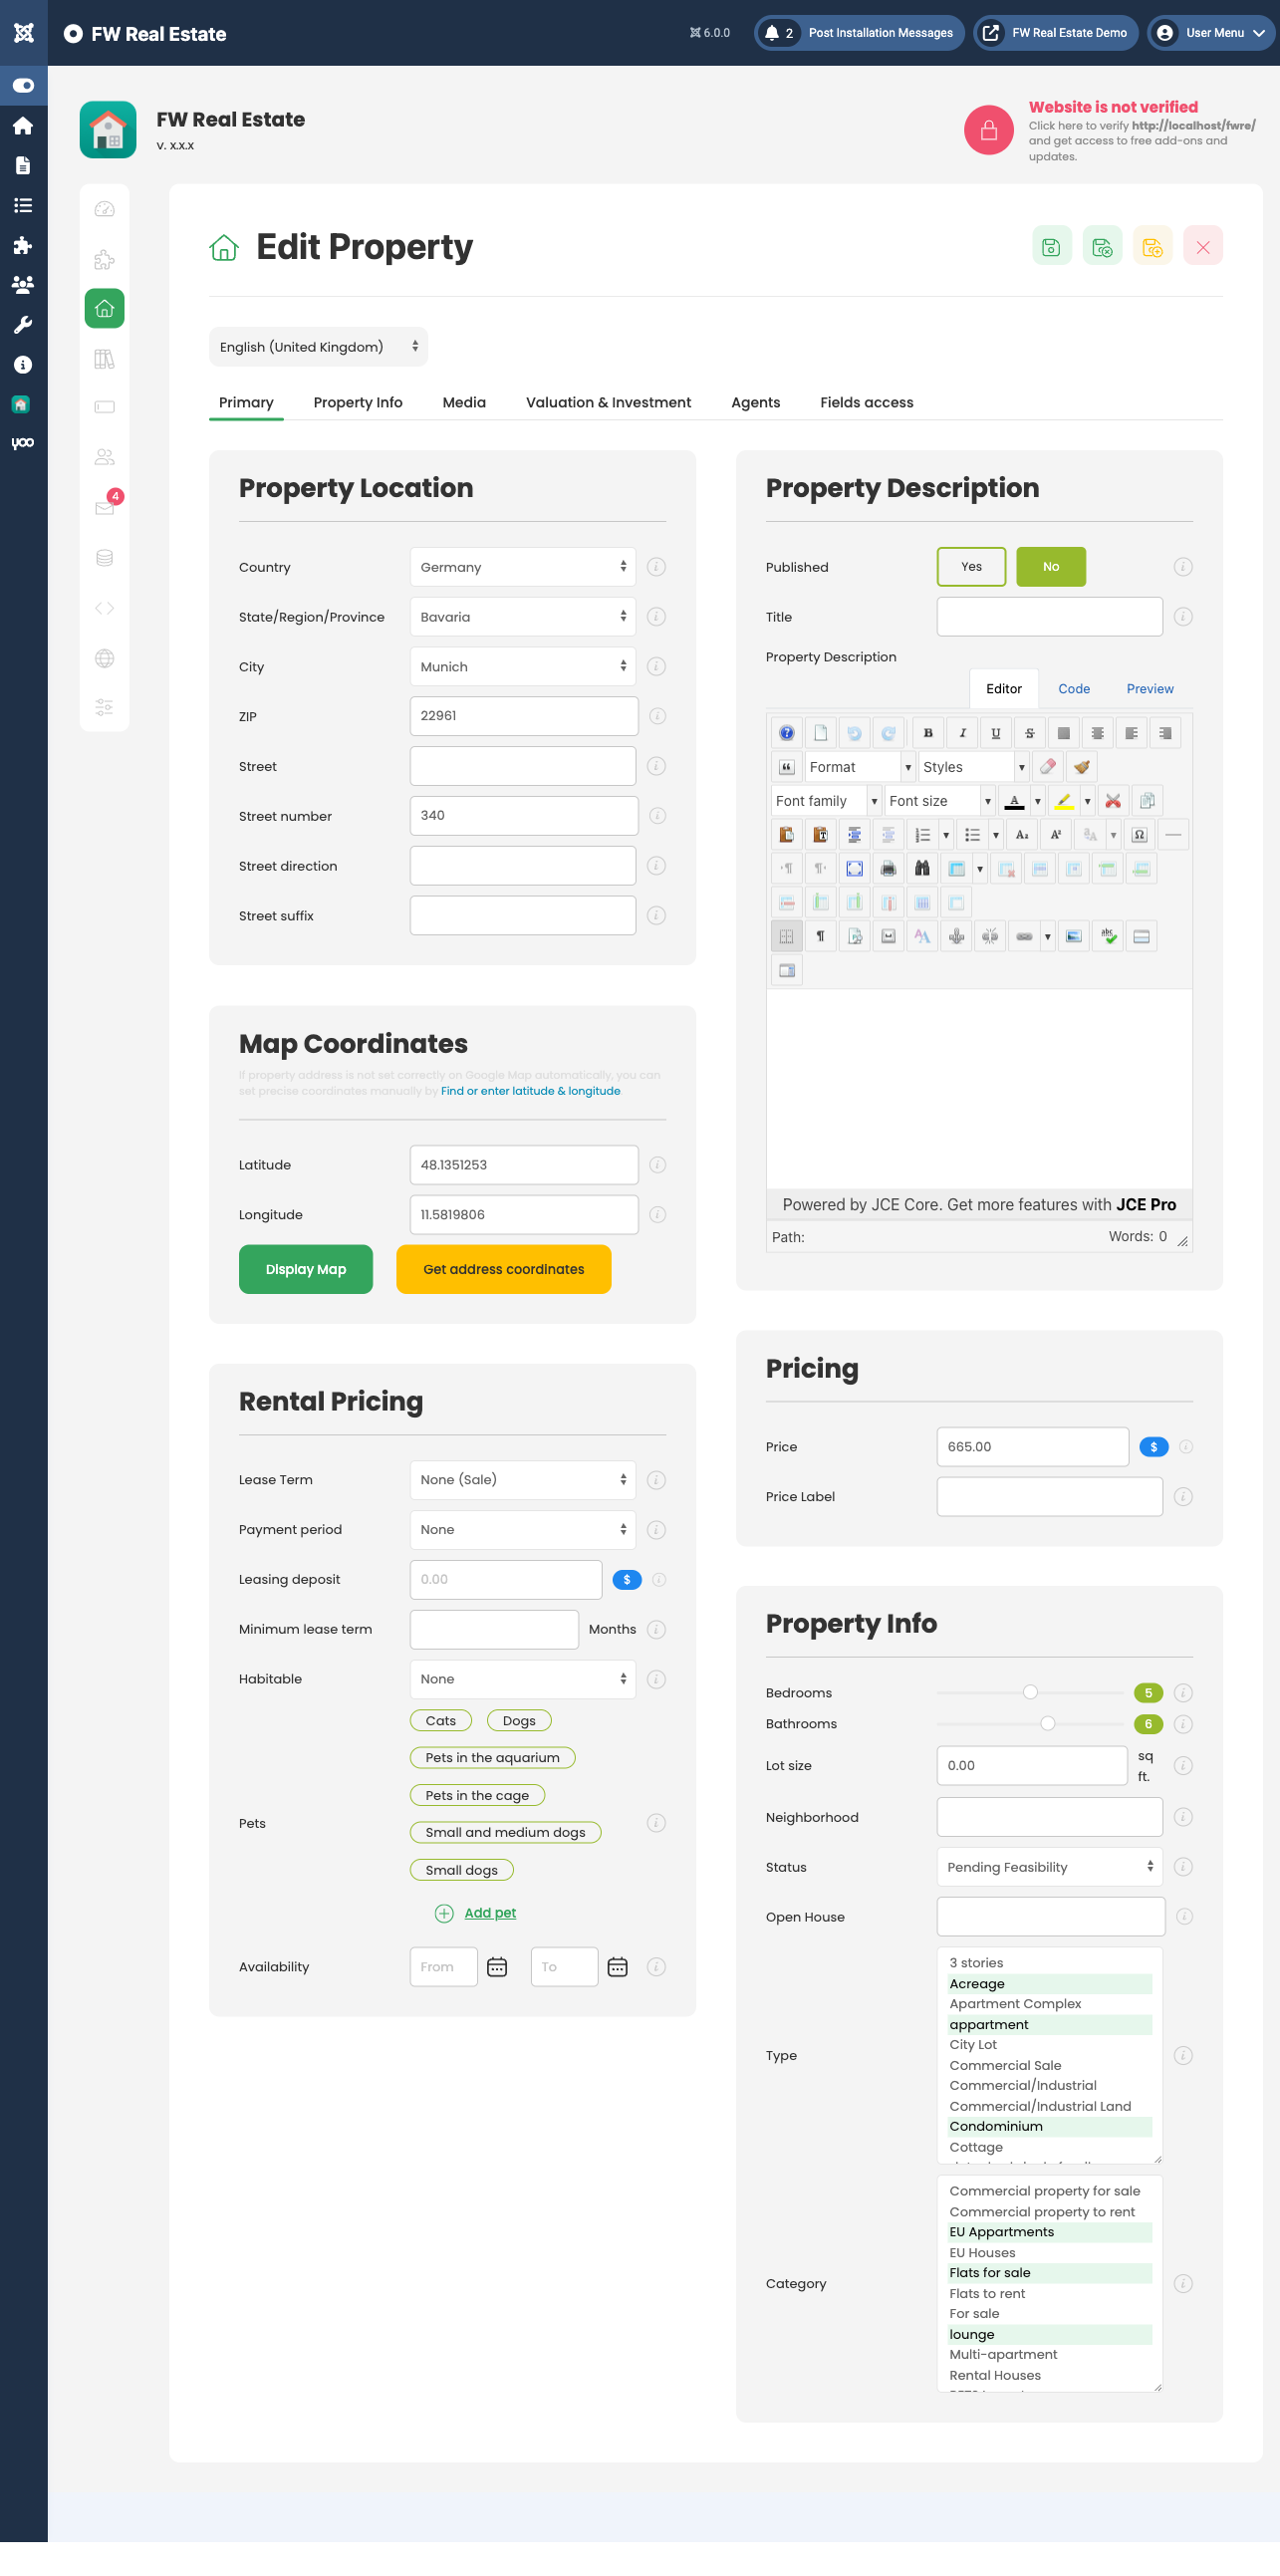
Step 4 — Add Your First Property
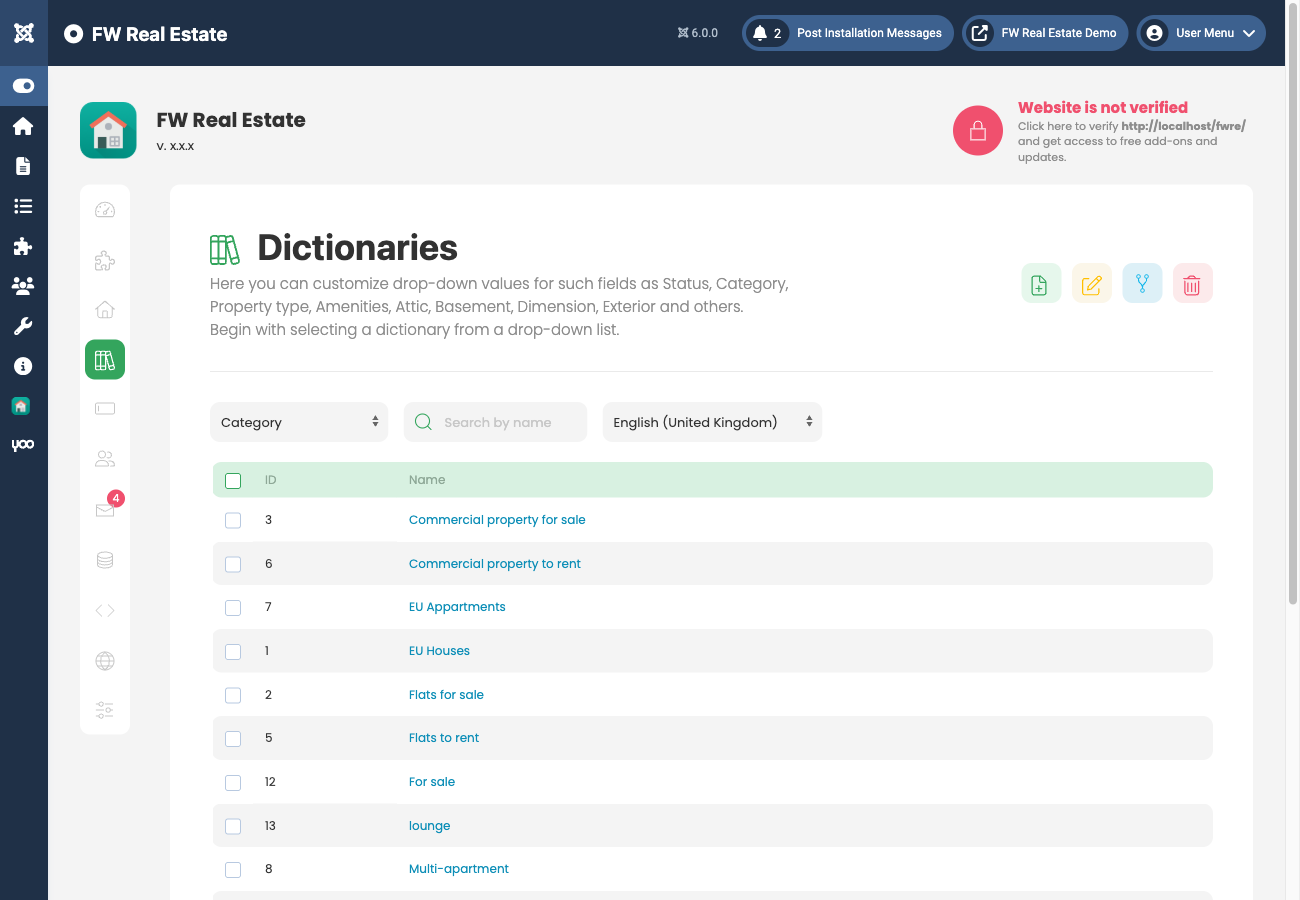
Before adding properties, go to FW Real Estate → Dictionaries and set up at least your property types, statuses, and locations. These populate the dropdowns in the property form.
Then go to FW Real Estate → Properties and click New. Fill in the title, status, type, price, and address, upload at least one photo, then save and publish. Visit the Properties Listing page on your frontend to confirm the property appears.