 FW Food Menu – Documentation
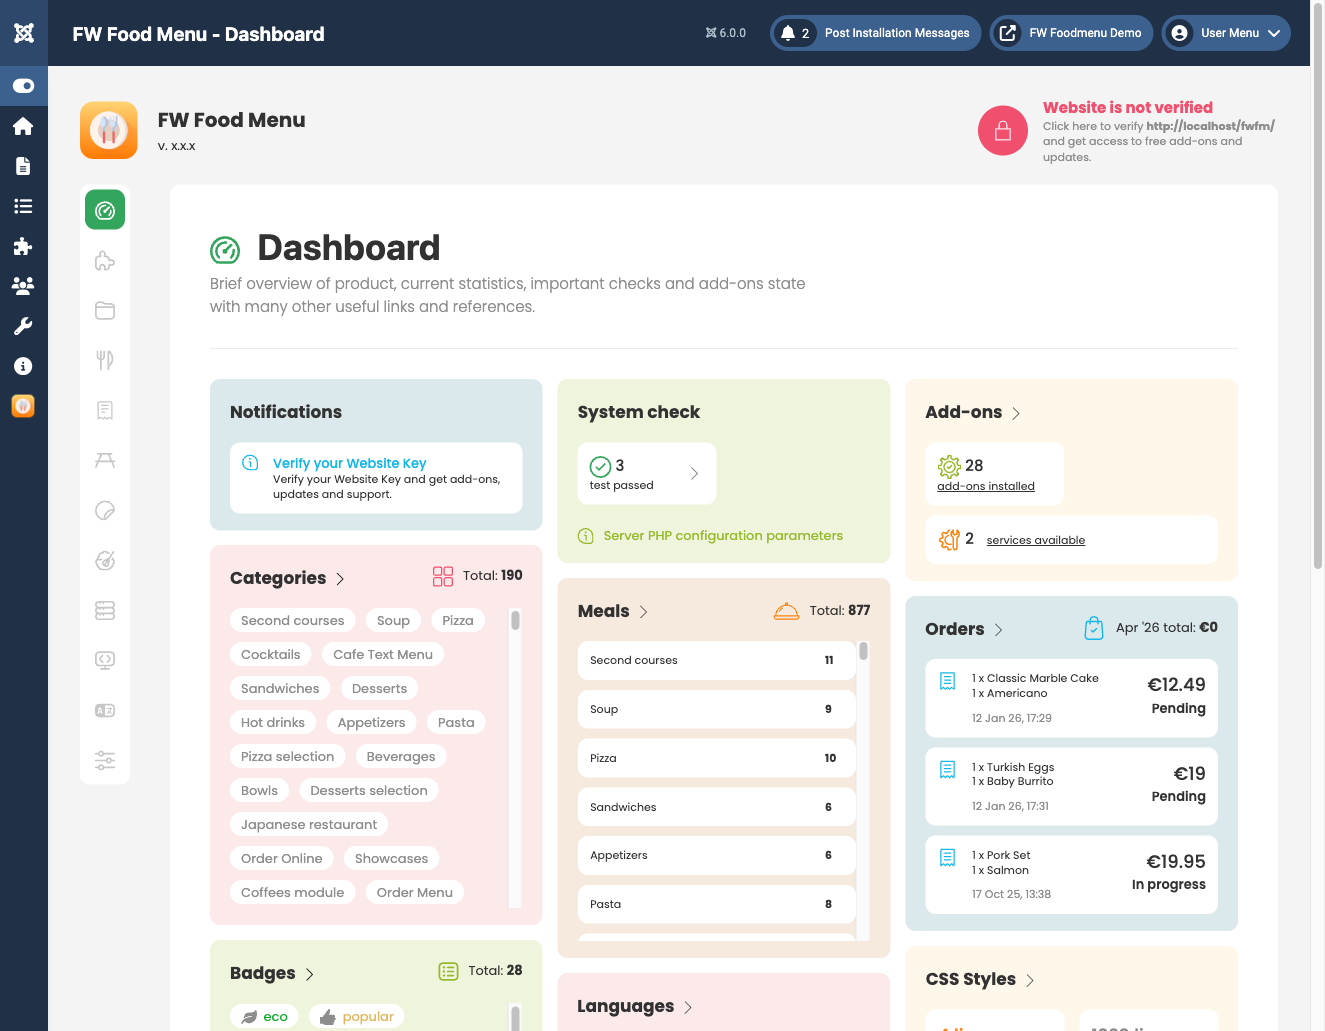
Quick Start Guide
Get your food menu live in four steps: create a category, add items, create a Joomla menu item, then visit the frontend to confirm everything displays correctly.
Step 1: Create a Category
Go to FW Food Menu → Categories in the Joomla administrator and click New. Fill in the Title (for example, "Starters" or "Drinks") and set Status to Published. Save the category.
If you need a nested structure, set a Parent category before saving. Repeat this step for each category your menu requires.
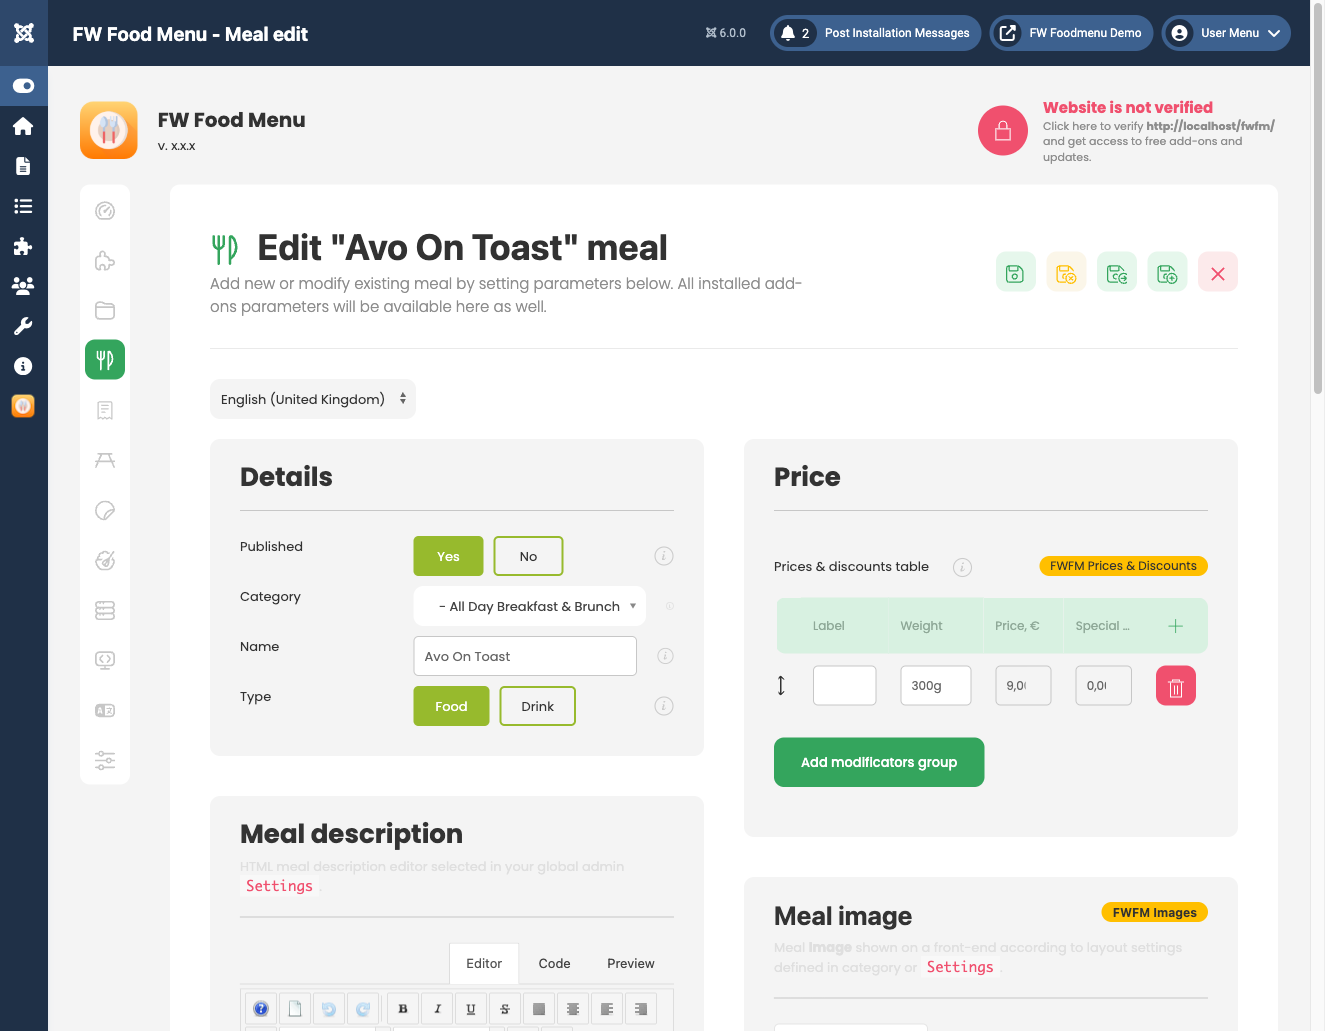
Step 2: Add Menu Items
Go to FW Food Menu → Menu Items and click New. Complete the required fields:
- Title — the name of the meal or drink.
- Category — select the category you created in Step 1.
- Price — enter a numeric base price.
- Status — set to Published.
Optionally add a Short description for listing cards and a full Description in the WYSIWYG editor. Save the item, then repeat for each meal or drink you want to display.
Step 3: Create a Joomla Menu Item
Open the Joomla menu manager (Menus → [your menu] → Add New Menu Item). Click Select next to the Menu Item Type field. In the type selector, choose FW Food Menu → Food Menu. This view displays all published categories and their items on a single page.
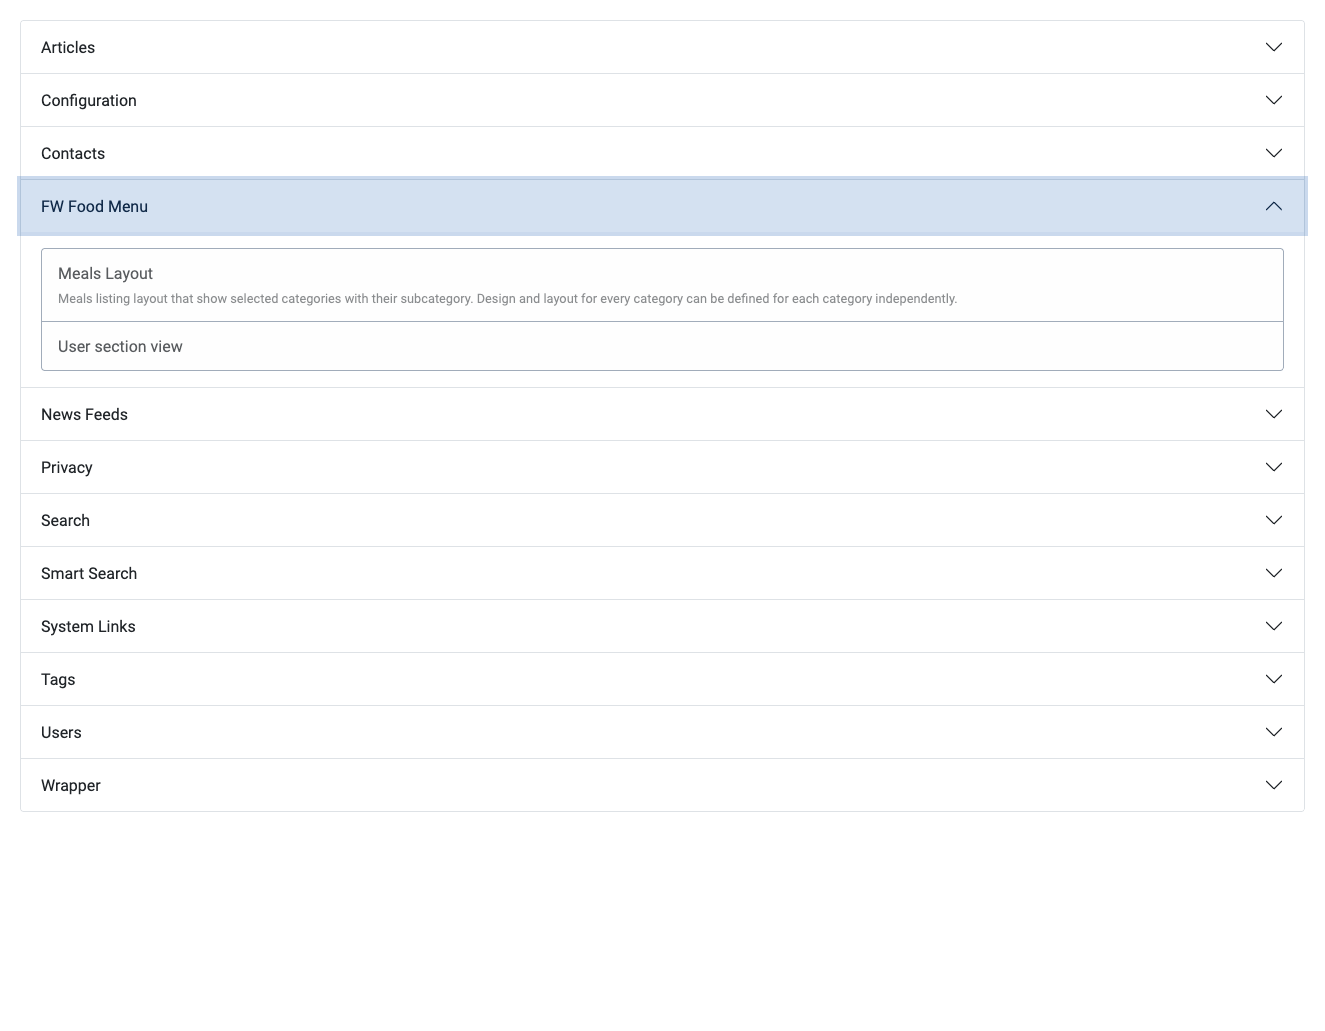
Give the menu item a Title, assign it to the correct menu, and save. The food menu is now linked to your site navigation.
Step 4: Visit the Frontend
Open your site in a browser and navigate to the menu item you just created. You should see your published categories and the items assigned to them. If a category or item is missing, check that its Status is set to Published in the admin.
Enabling Customer Orders
The steps above display a read-only digital menu. To allow customers to add items to a cart and place orders, the Cart plugin must be installed and enabled. Enable it in both the Joomla Plugin Manager and under FW Food Menu → Addons. Once active, cart controls appear on the frontend and an Orders section becomes available in the admin panel.
- Manage received orders under FW Food Menu → Orders.
- Configure order statuses and customer notifications under FW Food Menu → Settings → Orders.