 FW Food Menu – Documentation
Creating Your First Menu
Creating Your First Menu
Getting your food menu live involves three steps: creating a category, adding menu items to it, and linking everything to a Joomla menu item so visitors can see it on the frontend.
Step 1: Create a Category
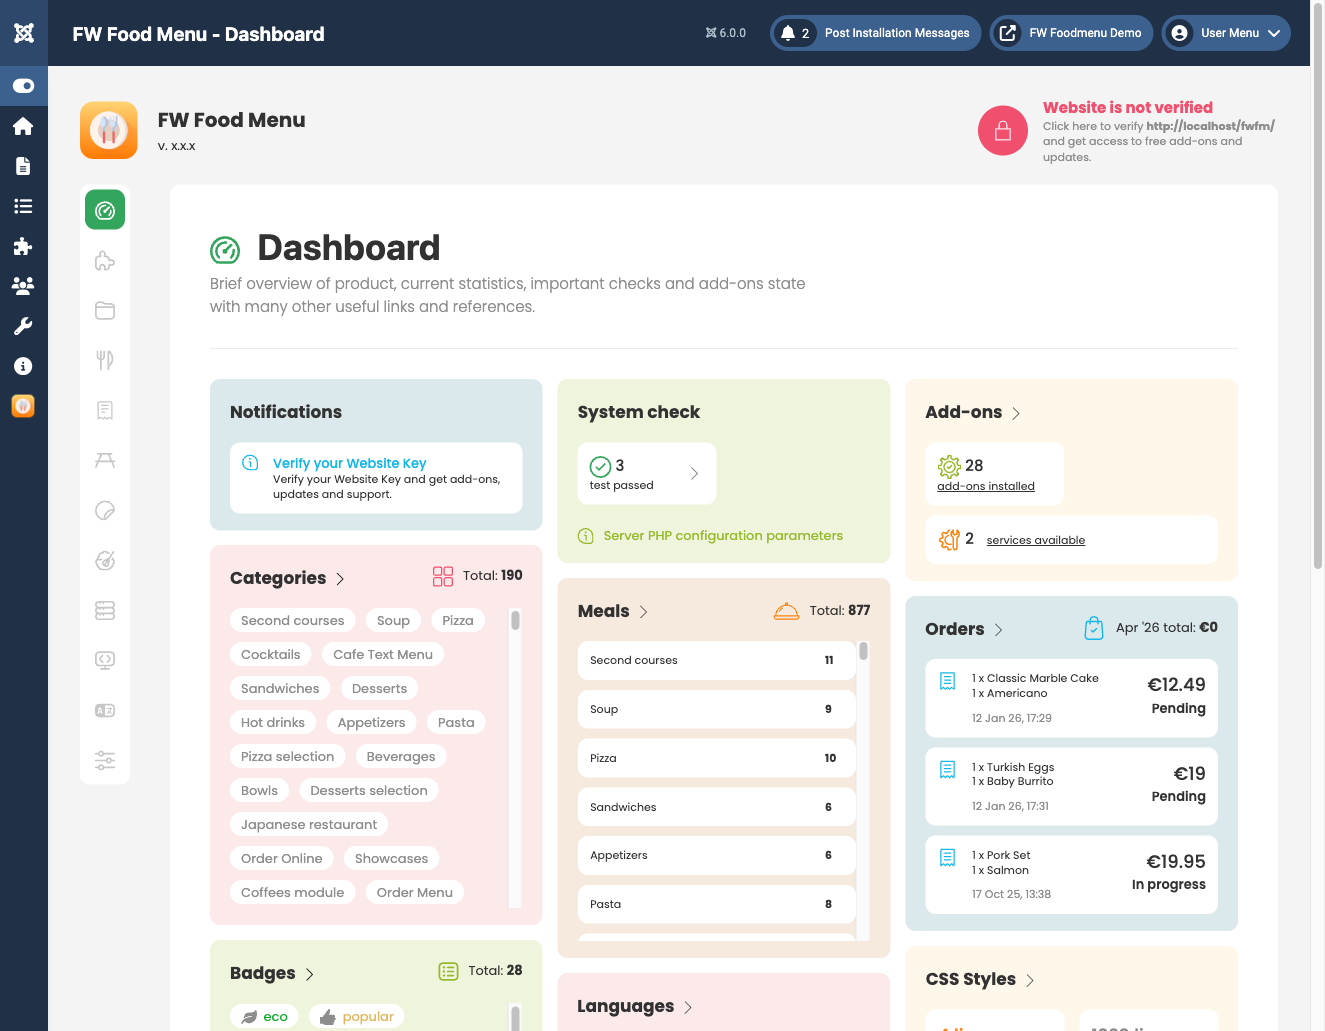
Categories organise your menu items into groups such as "Starters", "Main Course", or "Drinks". Go to FW Food Menu → Categories and click New.
Fill in the required fields:
- Title — the category name displayed on the frontend.
- Alias — the URL slug, auto-generated from the title. You can leave this blank.
- Parent — leave as the root to create a top-level category, or select an existing category to nest it underneath.
- Description — optional text shown with the category.
- Status — set to Published to make it visible.
Save the category. Repeat this step for each section of your menu.
Step 2: Add Menu Items
Go to FW Food Menu → Menu Items and click New.
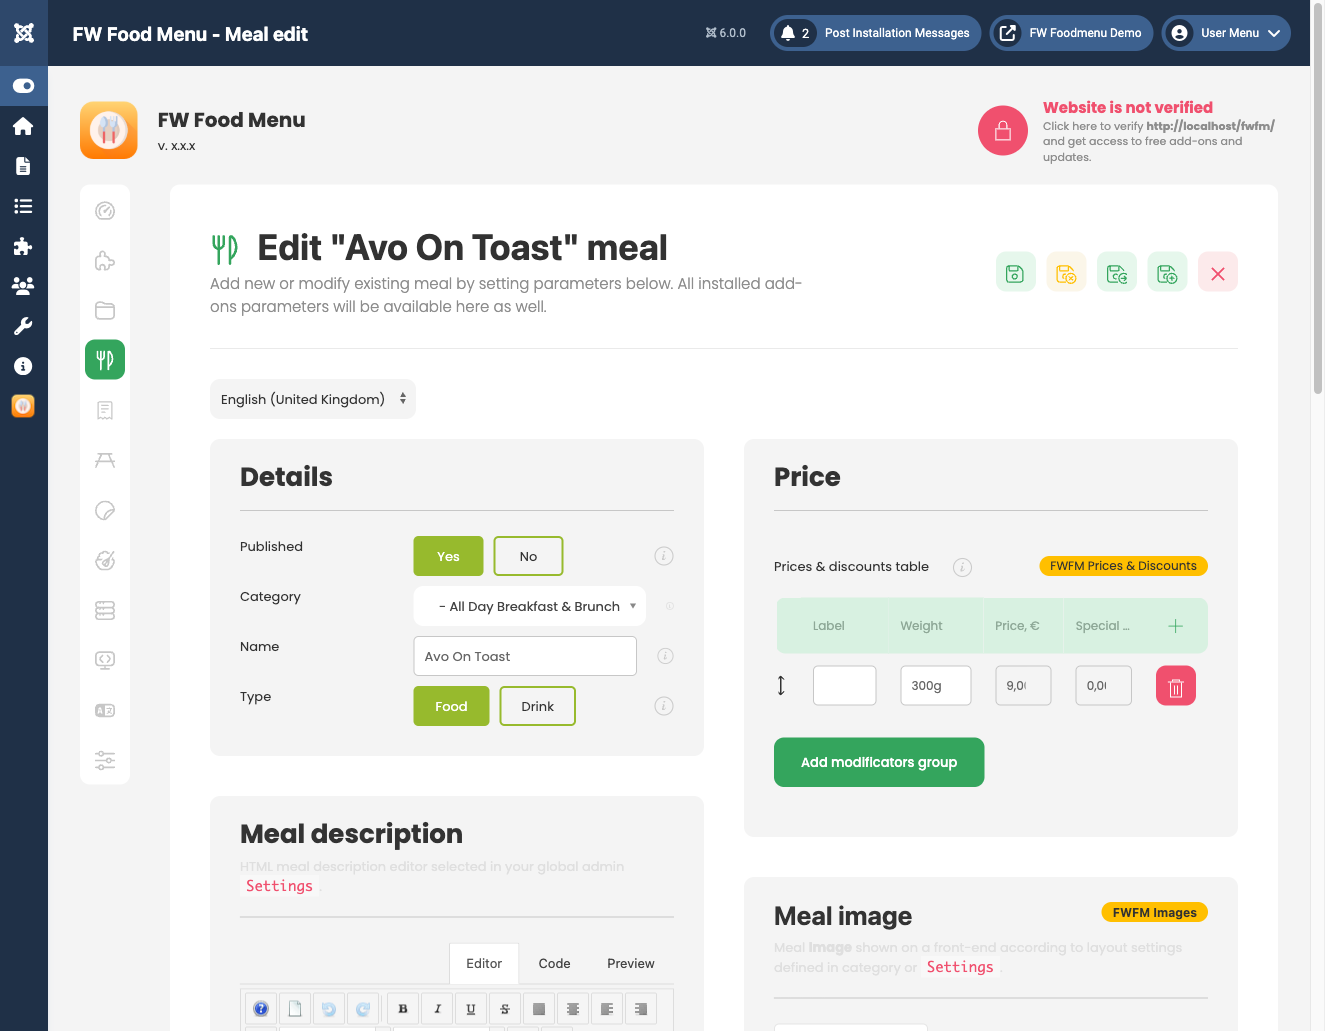
Complete the standard fields for each item:
- Title — the meal or drink name.
- Category — select the category you created in Step 1.
- Price — enter a numeric base price.
- Short description — brief text shown on listing cards.
- Description — full detail using the WYSIWYG editor, shown on the item's detail page.
- Status — set to Published.
Save the item. Add as many items as you need, assigning each to the appropriate category. You can reorder items within a category at any time by dragging rows in the list view.
Depending on which add-ons you have installed, additional fields may appear on the edit form — such as images, nutritional information, allergens, or price options. These are injected by the relevant plugins and are covered in their own documentation sections.
Step 3: Create a Joomla Menu Item
Your categories and items are now saved, but they won't appear on the frontend until you create a Joomla menu item pointing to the food menu view.
In the Joomla admin panel, go to Menus → [your menu] → Add New Menu Item. Click the Menu Item Type field and select Food Menu from the FW Food Menu group.
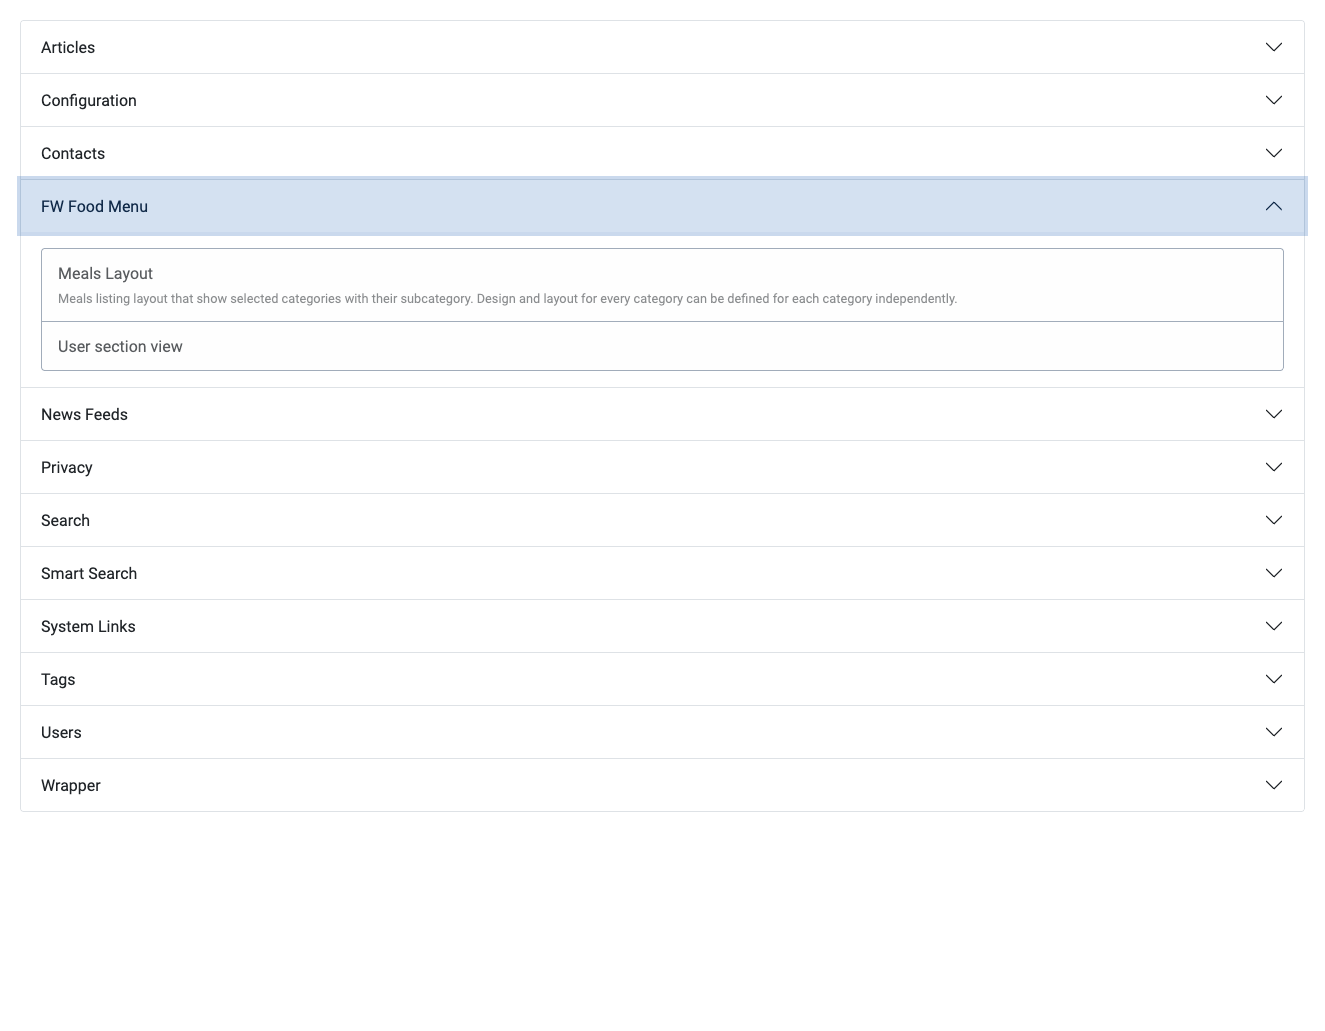
The available menu item types are:
- Food Menu — displays the full menu with all published categories and items.
- Single Meal — displays the detail page for one specific menu item.
- User Section — provides frontend order and profile management for registered users.
Select Food Menu, give the menu item a title, assign it to the appropriate menu position, and save. Visit your site — your categories and items will now display on the frontend.