Uploading Images
Uploading Images
Images are added to FW Gallery through the Files section of the admin panel. Each file belongs to a gallery (category) and can carry a title, description, and tags for organised display on the frontend.
Adding a Single Image
Navigate to FW Gallery → Files and click New to open the file edit form.
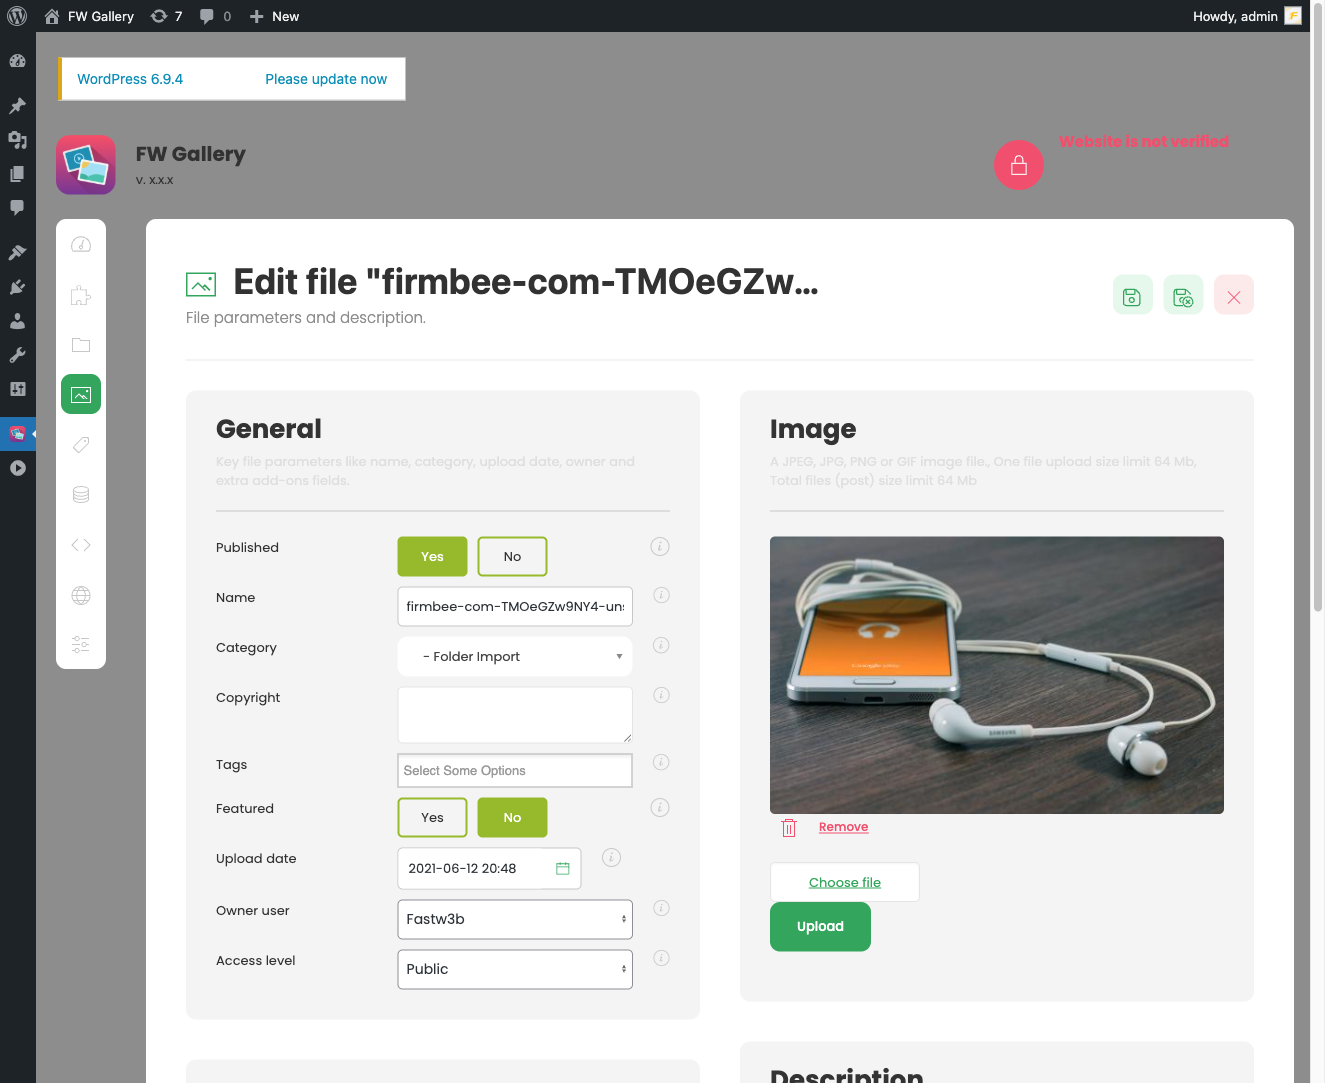
Fill in the fields as needed:
- Title — The name displayed to visitors in the gallery grid and on the file detail page.
- Image / Media — Click the upload control to select the image file from your device.
- Category (Gallery) — Select the gallery this image belongs to. This field is required; the image will not appear on the frontend until it is assigned to a gallery.
- Description — Optional HTML description written in the WYSIWYG editor. Shown on the file detail page.
- Tags — Comma-separated tags. Requires the Tags plugin to be active.
- Date — Publication or creation date associated with the file.
- Author — The author name displayed on the file detail page.
- Published — Controls whether the image is visible on the frontend.
When you are ready, click Save or Save & Close. The image is resized on upload according to the dimensions configured in FW Gallery → Settings → General (Max image size, Thumbnail size, and Lightbox image size). Changing those size settings after upload does not reprocess existing images.
Image Size Limits
Uploaded images that exceed the configured Max image size are automatically resized on upload. Review and adjust these values in Settings → General → Image Sizes before a bulk upload if your source files are large.
Batch Uploading Multiple Images
To upload multiple images at once, use the Import plugin. When the Import plugin is installed and enabled, a batch upload option becomes available under FW Gallery → Files. This lets you select and upload many images in a single operation rather than creating each file record individually.
After a batch import, review the resulting file records to assign correct titles, descriptions, and tags where needed, as batch-imported files may use filenames as default titles.
Assigning Images to Galleries
Every image must be assigned to a gallery via the Category field. If the target gallery does not exist yet, create it first under FW Gallery → Categories, then return to the file form. A single image can only belong to one gallery at a time. To reorganise images later, open each file record and change the Category field.
Publishing and Ordering
Use the Published toggle to control frontend visibility without deleting the file. The Ordering field sets the manual sort position within its gallery, which takes effect when the gallery's default ordering is set to manual order in Settings.