 FW Gallery – Documentation
Creating Your First Gallery
Creating Your First Gallery
A gallery in FW Gallery is built around a category. You create the category first, then point a Joomla menu item at it so visitors can browse its contents.
Step 1: Open the New Category Form
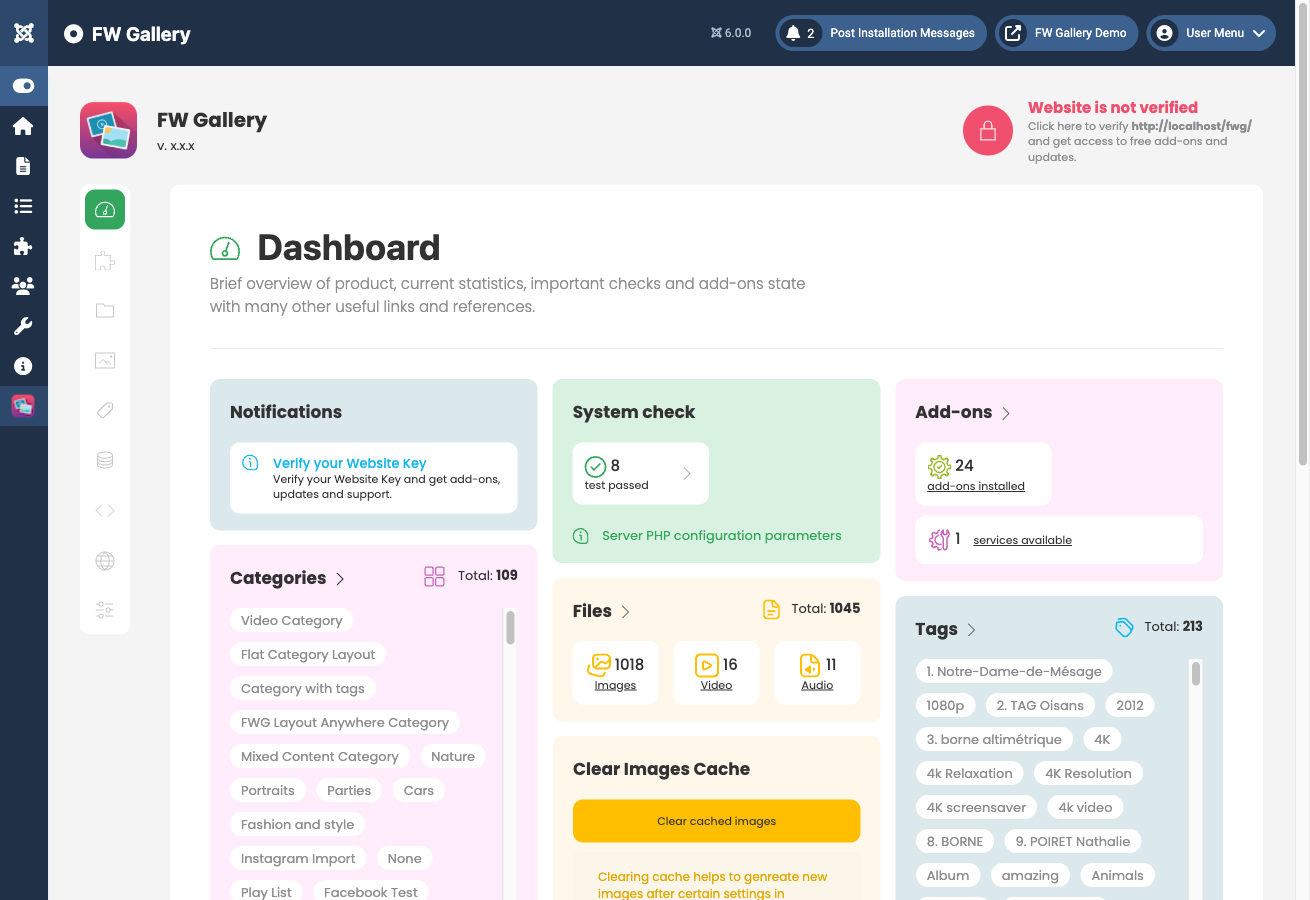
In the Joomla administrator, go to FW Gallery → Categories and click New.
Step 2: Fill In the Category Fields
Complete the fields shown in the form. The table below describes each one:
| Field | Description |
|---|---|
| Title | The gallery name displayed to visitors. Required. |
| Alias | URL slug — auto-generated from the title. Leave blank to let Joomla fill it in. |
| Parent | Set a parent gallery if this is a nested subcategory. Leave unset for a top-level gallery. |
| Description | Optional HTML description shown on the gallery page (position controlled in Settings). |
| Cover image | Optional representative image shown on gallery listing cards. |
| Layout | Override the default design template for this specific gallery. |
| Published | Controls whether the gallery is visible on the frontend. |
At minimum, enter a Title and set Published to Yes. Optionally add a description and upload a cover image to give the gallery a visual identity in listing views.
Step 3: Save the Category
Click Save & Close in the toolbar. The gallery now exists and is ready to hold files. You can return to it at any time from FW Gallery → Categories to update its details.
Step 4: Create a Menu Item
A saved gallery is not accessible to visitors until you create a menu item pointing to it.
- Go to Menus in the Joomla administrator and open the menu where you want the gallery to appear.
- Click New to create a menu item.
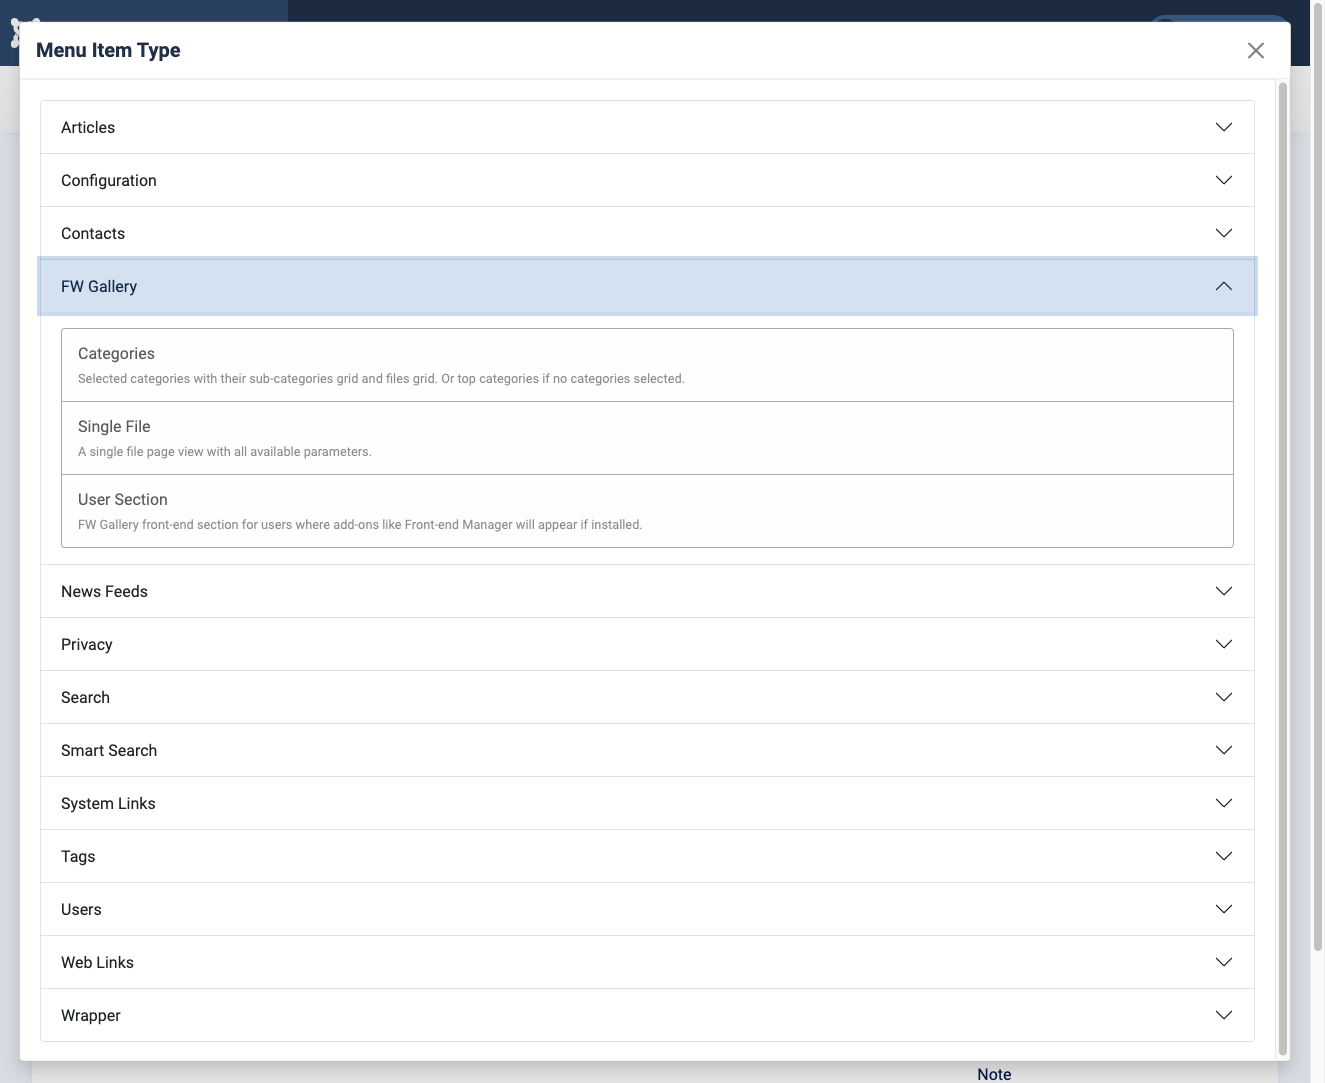
- Click the Menu Item Type field and select FW Gallery → Gallery from the type selector.
- In the Category field that appears, select the gallery you just created.
- Enter a Menu Title, assign it to the correct menu, and click Save & Close.
Visit the menu item on the frontend to confirm the gallery page loads. It will appear empty until you add files — go to FW Gallery → Files → New and assign files to this category to populate it.